How to Shoot Stunning Foliage Photography: A Guide

There’s a reason people plan entire road trips around fall foliage. Whether it’s the maples of New England, the golden aspens out West, or even just a single fiery tree on your street corner, autumn has this way of stopping us in our tracks. I can’t count how many times I’ve dropped everything to grab my camera the second the leaves start turning, whether in the rolling hillsides of New England or the woods and parks of Vermont at fall.
But translating that magic into a photograph can be challenging. If you’ve ever come home with a memory card full of leaves that looked kind of “meh”, you know what I mean. The colors in real life are dazzling, but somehow the photos don’t quite match what you saw.
What I’ve learned over the years is that foliage photography isn’t really about chasing the biggest, most postcard-perfect view. It’s about noticing the smaller details that capture your audience’s imagination: the way morning light filters through branches, a single red leaf hanging on against a stone wall, or the mottled, strange colours of an entire hillside.
That’s what I want to share here. Some of the tricks and shifts in perspective that have helped me turn those “meh” snapshots into images that feel full of texture, mood, and story. No fancy gear required, just a bit of patience, curiosity, and a willingness to let the colours and mood guide you.
Table of Contents


Look for Elevated Views
One of the simplest ways to show off the richness of the canopy is to get a little higher. Overlooks, hills, and mountain trails give you a sweeping view of the landscape and patchworks of red, orange, yellow, and green stretching as far as the eye can see. These wide perspectives help your viewer feel immersed in the season, almost like they could step into the frame.
If you don’t live near mountains, don’t worry. Even a smaller hill, a church tower, or a parking garage rooftop can give you enough elevation to tell a story of scale. I once shot from the top of a smaller hill and ended up with one of my favorite foliage panoramas because the leaves wrapped the building in color. Sometimes “elevated” is more about perspective than altitude.

Frame Your Foliage Photography
Composition matters just as much as color. The rule of thirds (a simple grid that divides your frame into nine equal parts) is a great place to start. Placing your subject (a tree, a person, or even a lake reflection) along those lines or intersections instantly makes the image feel balanced.
That being said, don’t be afraid to break the rule once you’ve learned it. A lone leaf smack in the middle of the frame, surrounded by negative space, can be just as powerful. The key is to be intentional about where your subject sits in relation to everything else.

Play With Depth of Field
Foliage gives you endless opportunities to experiment with focus. Try shooting with a wide aperture (a low f-stop like f/2.8 or f/4) to bring one crisp layer of leaves into sharp focus while the rest melts into a soft blur. It draws the eye right where you want it and adds a dreamy quality.
On the flip side, a narrower aperture (higher f-stop) can help keep an entire scene sharp: useful if you’re shooting an expansive forest or a hillside view. Switching between the two approaches can give you a series of images that feel connected but varied.


Change Your Perspective
Sometimes the best foliage shots come from unusual angles. Look up and frame leaves against the sky, letting the blue act as a clean backdrop. Crouch down to ground level and capture a carpet of fallen leaves stretching away from the lens. Get close enough to show the veins and textures of a single leaf (details we usually walk right past). I’ve even crouched in the mud by a puddle to catch the way the water plays off the fall colors. Don’t be afraid to look a little silly while shooting; the perspective shift is worth it.
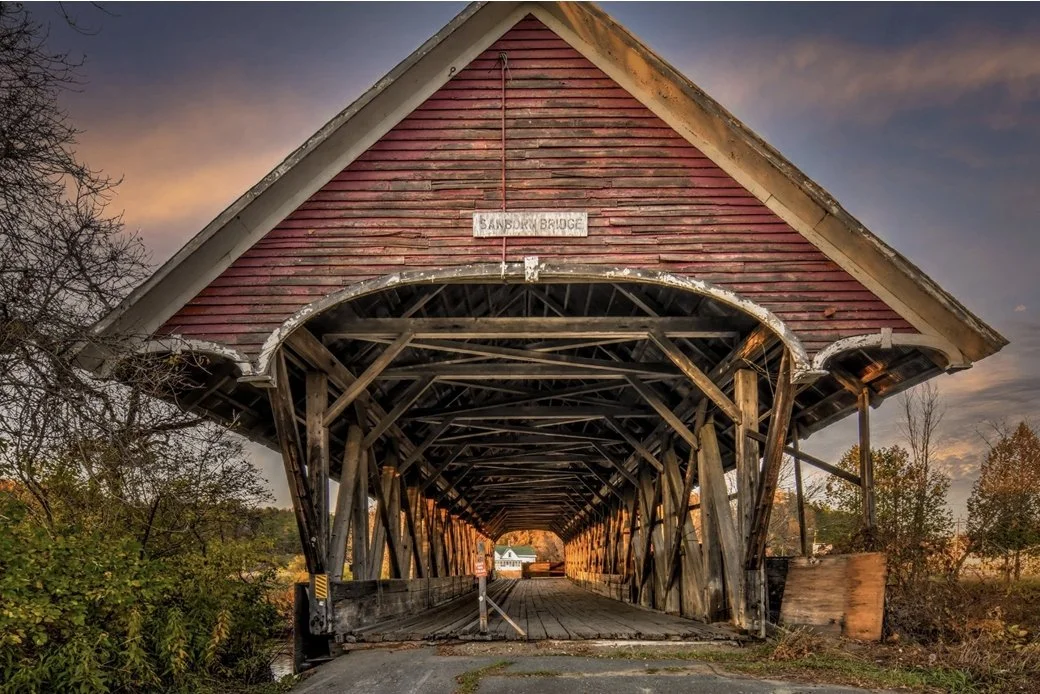
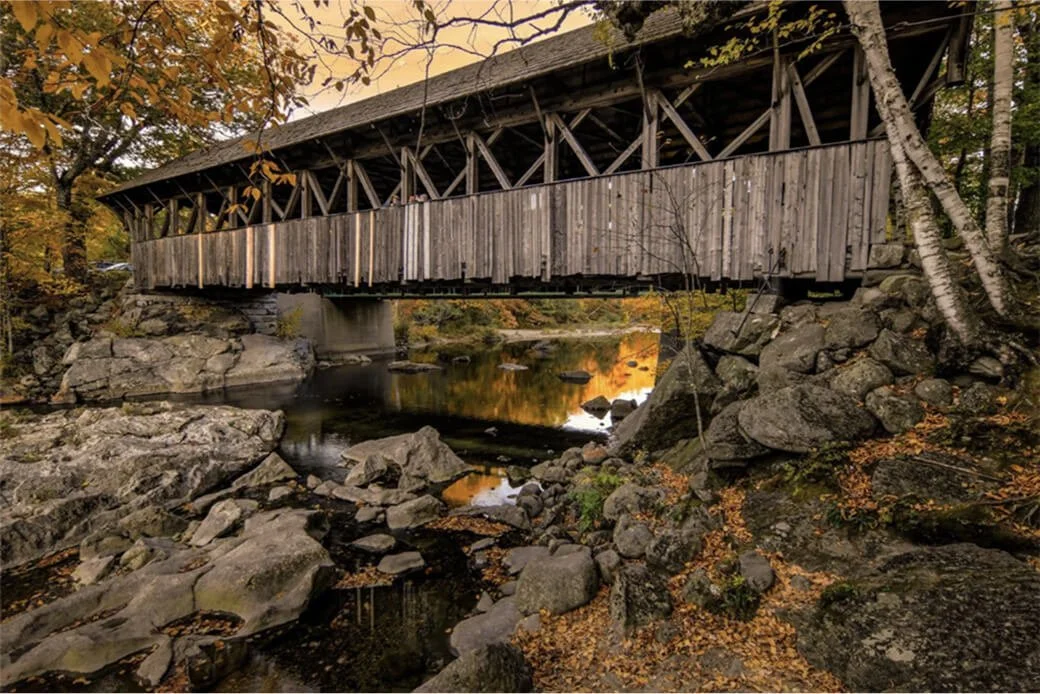
And there is so much more than leaves to capture, too. Branches, fences, barns, or even people can add character and scale. I love photographing buildings and infrastructure in contrast to the vast natural landscape. These details make your images feel like stories rather than simple snapshots.

Work With Light
Light is everything in foliage photography. Backlighting (shooting with the sun behind the leaves) makes colors glow and can reveal the delicate structure of each leaf. Stop down to a smaller aperture (f/16 or so) and you might catch a starburst effect through the branches.
Sidelight and front light can work too, bringing out textures and shadows, but be careful of harsh midday sun, as it often flattens or washes out colors. The golden hour, when the sun is low and warm, is one of the best times to shoot. Overcast days are underrated too: the soft, even light makes colors pop without the distraction of shadows.
And don’t underestimate fog. A misty morning wraps trees in atmosphere, creating depth and mood that’s hard to replicate. Some of my favorite autumn shots came from days I almost left my camera at home because the sky looked dull, until the fog rolled in and transformed everything.


Gear That Helps
I always remind people: you don’t need the best camera on the market to shoot foliage well. A phone can absolutely work if you’re paying attention to light and composition. That said, a few pieces of gear do make life easier:
Wide-angle lens for sweeping landscapes or treetop canopies.
Telephoto lens if you want to compress distance, like rolling hills stacked in layers of color.
A tripod for those slower shutter speeds and reflections.
A polarizing filter to cut glare and make colors pop, especially around water.

Editing
Foliage is already vibrant, which makes it tempting to crank the saturation. I try to resist. A little contrast and vibrance can help, but I prefer subtle adjustments that keep the image feeling like what I actually saw. Over-editing often strips out the mood.
What I do focus on is texture. Lifting shadows just enough to reveal the roughness of bark or the delicate veins in a leaf can make the photo feel tactile. Cropping is another underrated tool; sometimes pulling in closer helps the story shine. I’ve salvaged many “busy” photos by honing in on one simple focal point.


Timing Is Everything
If you’ve ever planned a foliage trip, you know the colors don’t last long. Peak season is fleeting, and it varies year to year. I’ve missed it entirely before by waiting just one week too long. The hillside that had been glowing with color turned into a skeleton of bare branches almost overnight.
That’s part of what makes foliage photography so special. It’s a reminder to be present, to notice what’s happening in the moment. Don’t just wait for the “perfect” weekend; sometimes the in-between stages, when green mixes with red, or when most leaves have fallen, tell the most compelling stories. A single yellow tree standing in a field of bare ones can be more striking than a whole mountain in full blaze.
Final Thoughts
The best foliage photos are about mood, story, and the small details that pull you in. Whether you’re framing a crumbling farmhouse wrapped in ivy, crouching by a puddle for reflections, or simply holding a leaf up to the light, the goal is the same: to notice.
Fall asks us to slow down, to look closely, and to find beauty in what’s about to pass. For me, that’s the heart of foliage photography. Every image becomes a little reminder that change can be breathtaking, even when it’s fleeting. So head out, take your time, and let the season surprise you.