Urban Decay Texture Photography: Finding Abstract Beauty in Deterioration
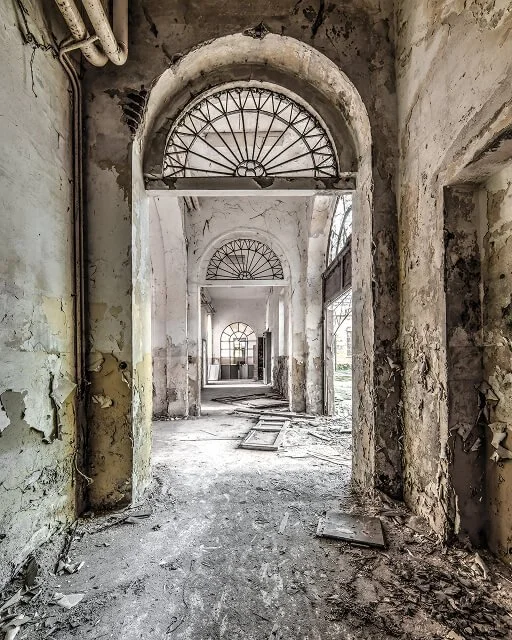
I remember standing in an abandoned hospital in Detroit, camera already pointed down a long corridor I’d been thinking about since I arrived. The light was there. The composition made sense. It was the shot I came for.
But on the wall beside me, a section of paint had started to lift. Just slightly. Enough to expose older layers underneath. Faded blue, then something warmer beneath that. It stopped me. I moved closer without really thinking about it, shifting my attention away from the room entirely.
By the time I raised the camera again, I wasn’t looking at the corridor anymore. The withering wall had become the focal point without warning and I never ended up taking the shot I came for.
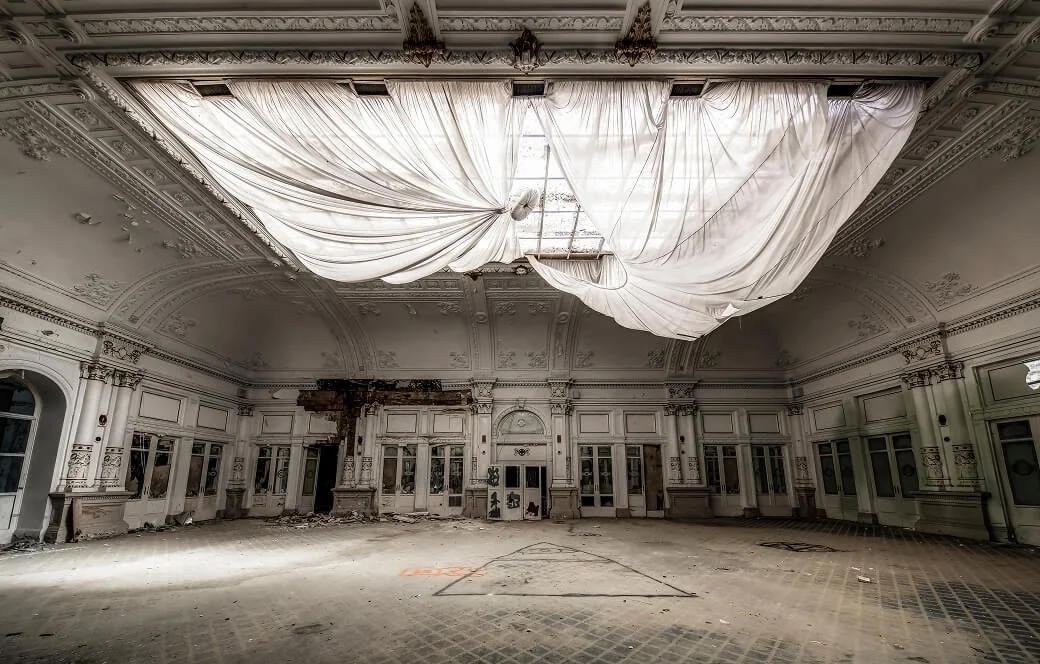
Urban decay photography is often framed around scale. Wide rooms, architectural lines, the feeling of space. But the longer I’ve spent exploring, the more I’ve found the strongest images don’t always live there. They’re smaller. Closer.
Decay creates textures and patterns that feel closer to abstract or fine art than documentation. You just have to be willing to look past the obvious.
This guide explores what to look for, how to approach these details technically, and how to compose texture photographs that can stand on their own.
Why Textures and Details Are Worth Photographing
Before I even think about camera settings, I’ve learned to take a step back and adjust how I’m looking at the scene. Most of what matters in these spaces doesn’t sit out in the open. You have to move closer. Sometimes a lot closer.
Decay as Abstract Art
At a certain point, I stopped seeing walls as part of a room and started seeing them as something on their own.
Peeling paint isn’t just texture. It’s time, layered one colour over another. Rust spreads slowly, forming shapes that feel more like something painted than something broken. In other places, moss and lichen push in, softening the surface and shifting the palette completely. Even graffiti settles into it all, becoming part of the same surface rather than something separate.
It’s hard not to think about wabi-sabi when you’re standing there. The Japanese philosophy that nothing needs to be perfect, or even complete, to feel whole. That sense that what you’re looking at is still in motion, still changing, even as it falls apart.
Details Tell a Different Kind of Story
Wide shots show you the space, but they don’t always tell you what it’s been through.
That tends to live in the details.
A single section of wall can hold decades of use in a way a full room can’t. Layers of paint push through each other, different colours from different years surfacing all at once. It begins to read like a record, revealing decades of use in a single frame.
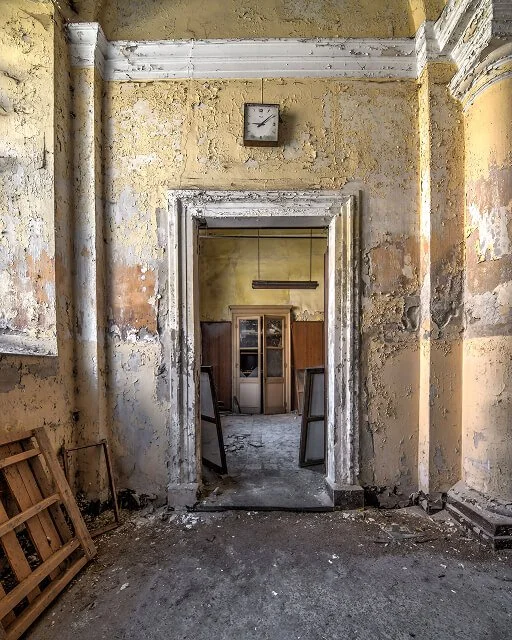
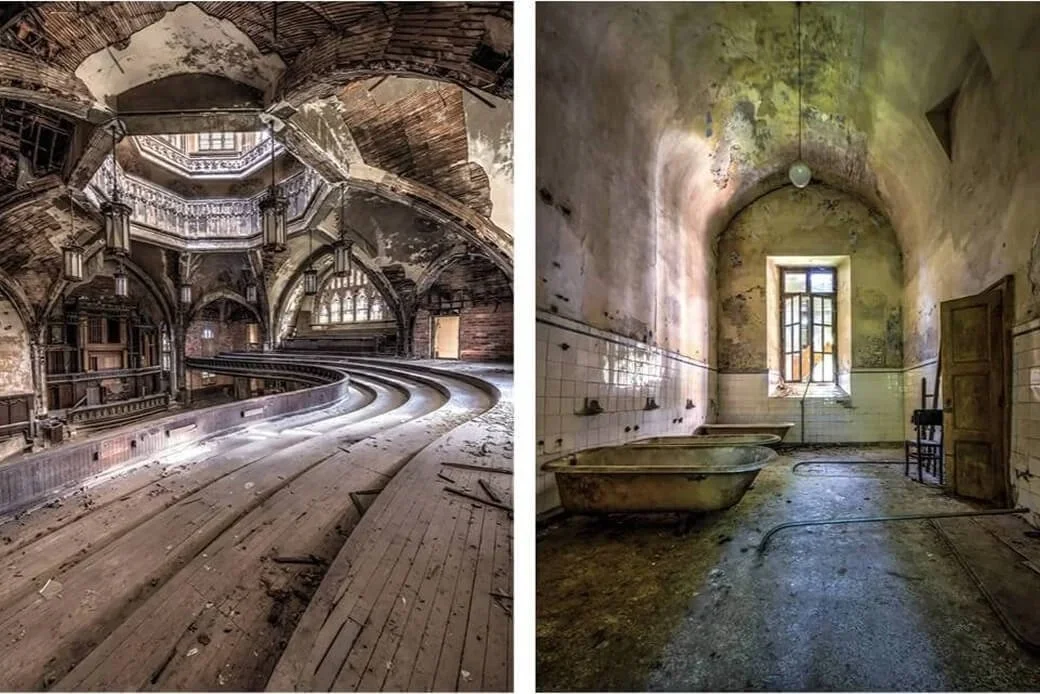
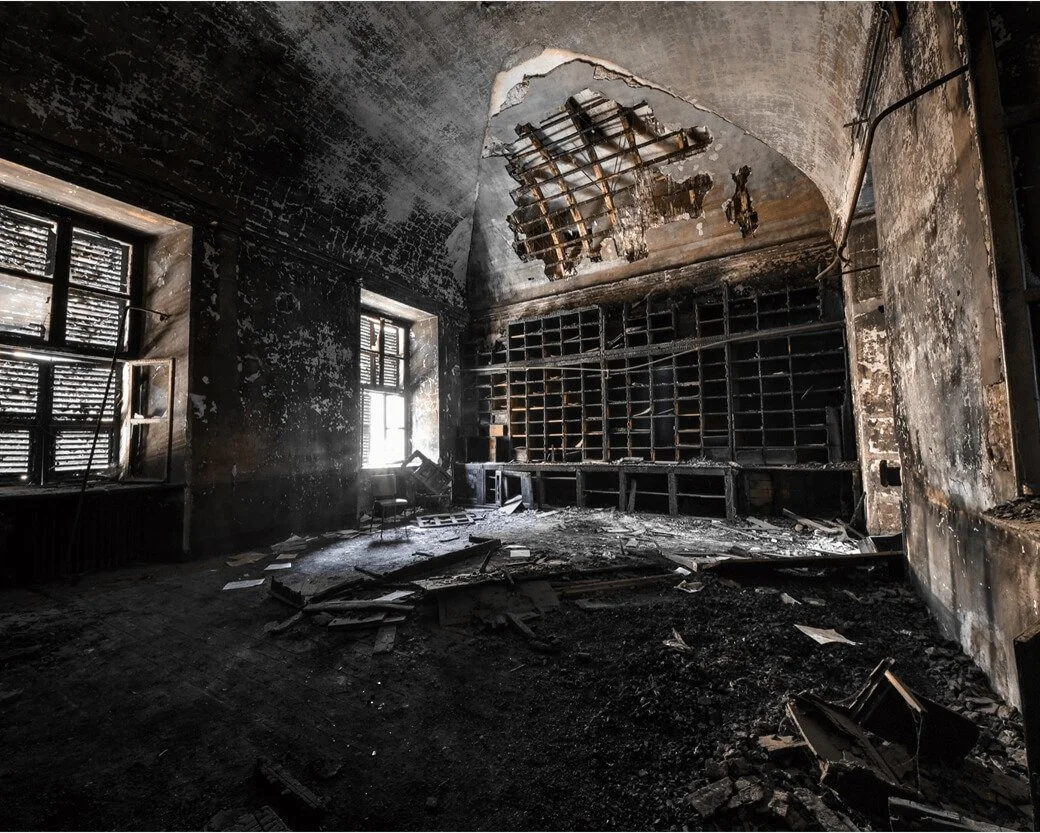
I felt that most in the Manicomio di Racconigi. I remember focusing on a section of wall where the surface had started to break apart, revealing older layers underneath. The room itself was striking, but it was that smaller detail that held me there.
I ended up spending more time with that wall than the room itself.
What to Look For: A Field Guide to Decay Textures
Once you know where to look, these incredible details are impossible to ignore.
Peeling Paint and Exposed Layers
Walls in old hospitals, schools, asylums, and factories often hold multiple coats of paint applied over the course of time. I look for areas where those layers start peeling through each other. The colours and textures can feel almost geological. When light hits from the side, it brings out that depth in a way flat light never will.
Rust and Metal Oxidation
Old machinery, radiators, door hinges, staircases, and window frames are prime subjects. Rust forms natural gradients, shifting from deep red-brown through orange to yellow. After rain, wet rust takes on a different quality, with deeper tones and a surface that reflects light in a more noticeable way.
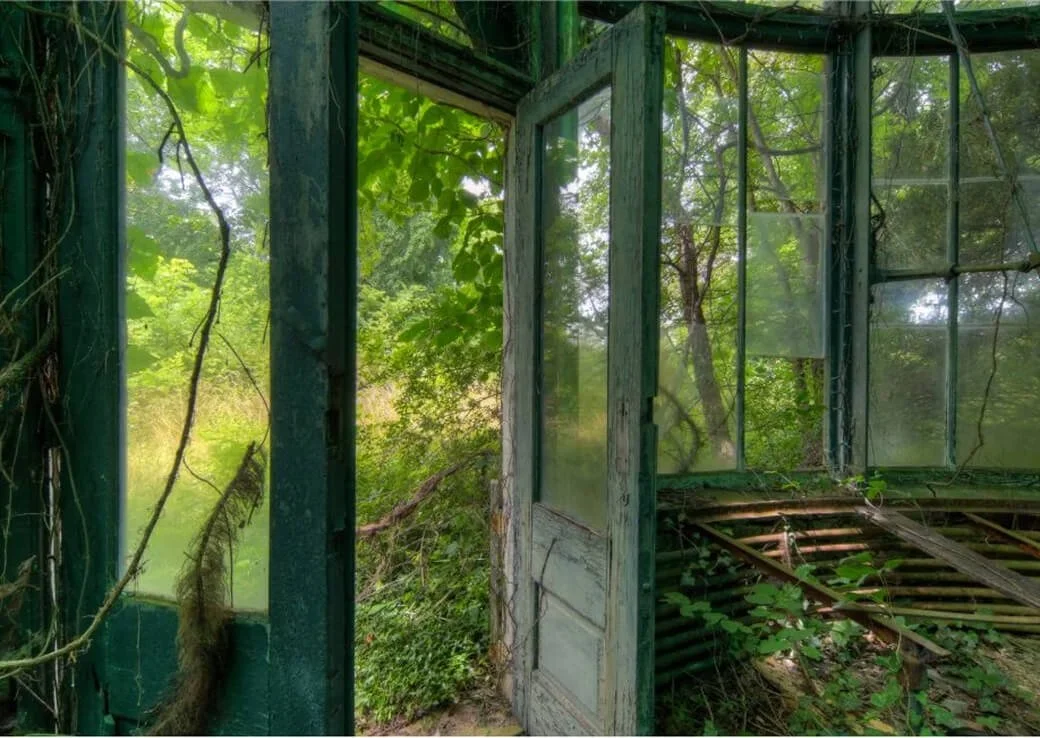
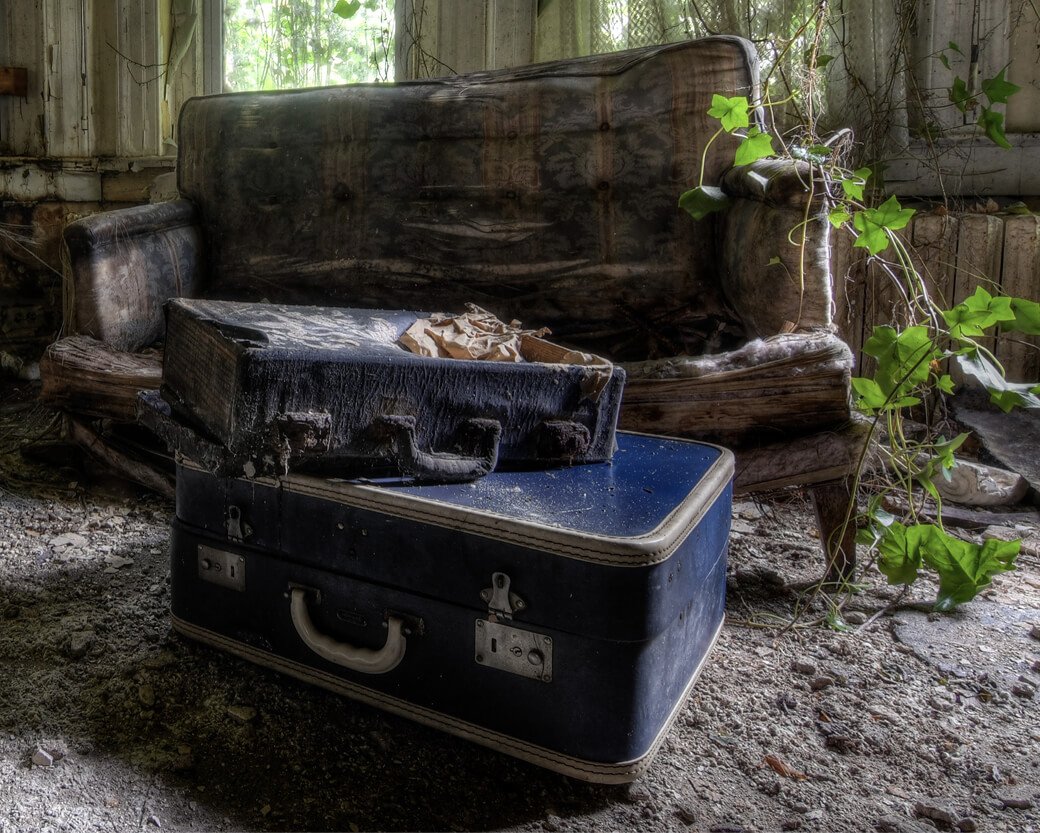
Nature Reclaiming Surfaces
Moss and lichen on stone or brick, vines working their way through broken windows, plants pushing up through floor tiles. It’s one of the few moments where a space starts to feel less abandoned and more… taken back. That contrast between soft green and hard concrete pulls your eye immediately, and more often than not, it ends up being what carries the frame. It’s a perfect example of how colour and contrast shape the way a scene comes together in urbex photography.
Broken Glass and Window Patterns
Fractured glass in window frames creates sharp, geometric patterns. When light passes through broken panes, it casts layered shapes across interior surfaces. I’ve found those moments often work best when you let both the interior and exterior sit together in the frame, rather than choosing one over the other.
SAFETY TIP: Always photograph broken glass from a safe distance and never handle it.
Graffiti as a Texture Layer
What catches me isn’t the graffiti on its own, but how it sits over everything else. Over peeling paint, over original wall surfaces, building up multiple visual histories in the same place. I try not to isolate it. When I step back, it starts to blend into the surrounding decay and feel like part of the surface rather than something separate.
Technical Approach: Getting Close and Getting It Right
Finding the detail is one thing, but learning how to actually photograph it is something else entirely.
Lenses and Getting Close
A macro lens is ideal for this kind of work, especially when you want true 1:1 detail. That said, most standard zoom lenses can focus close enough for larger texture areas, like a section of wall. I’ve also used extension tubes when I want to get closer without carrying extra gear. Even a wide-angle, used up close, can create interesting distortion effects that are definitely worth exploring.
Lighting for Texture
Light changes everything with texture. Side lighting, where the light hits the surface at a low angle, is what brings out depth. I rely on natural light through windows whenever I can, adjusting my position rather than forcing it. Flat overcast light tends to soften everything, and direct flash can flatten it even more. In darker spaces, I’ll sometimes use a small light to introduce light from the side.
Depth of Field Choices
A wider aperture, around f/2.8 to f/4, helps isolate a small detail and gives the image a more intimate feel. Stopping down to f/8 or f/11 keeps more of the surface in focus, which works better when the texture itself is the subject. I tend to lean toward a slightly narrower aperture when I want to show how everything connects across the surface.
Bracketing and HDR for Texture
Bracketing multiple exposures and merging them later helps reveal detail in both highlights and shadows, which is especially useful when you’re shooting indoors. It’s something I rely on often when the light is uneven, a situation that comes up regularly in urban decay photography. Taking the time to understand how HDR actually works can make a noticeable difference in how much detail you’re able to hold onto.
Composition Strategies for Abstract Decay Images
Once you’re working this close, composition becomes less about the space and more about how the surface holds together.
Fill the Frame
Sometimes I’ll move in until the texture fills the entire frame. It removes any sense of where you are and keeps all the attention on the surface itself. It works especially well with rust, peeling paint, and lichen, where the detail really holds up on its own.
Find the Edge
I’ve found that some of the most interesting images happen right where two things meet. Decay against new growth, rust against cleaner metal, paint breaking into bare wall. There’s a kind of tension there that makes the image feel more alive.
Use Geometry Within the Texture
Even when things feel chaotic, there’s usually some structure if you look long enough. Cracks, lines, repeating shapes. Once I notice that, I start to build the frame around it, letting those patterns guide where the eye should travel.
Include a Scale Reference Occasionally
I’ve found that some of the most interesting images happen right where two things meet. Decay against new growth, rust against cleaner metal, paint breaking into bare wall. There’s a kind of tension there that makes the image feel more alive.
Editing Urban Decay Texture Photography
Editing these is usually more about holding onto what drew me in than trying to improve it.
I’ll start by nudging the texture a little. Not too much, though. Just enough to bring the surface forward without it starting to feel brittle or overworked. It’s one of those adjustments that looks good quickly, then falls apart if you push it too far.
Contrast comes next, but again, lightly. These surfaces already carry a lot of tonal variation, so it’s more about separating what’s there than adding anything new.
Colour is where I slow down the most. Rust can take on a bit more warmth, while moss and plant growth often feel better when they lean cooler. But it’s easy to overdo it. The colour is interesting because it isn’t clean. It shifts, it fades, it sits unevenly across the surface. Sometimes I’ll remove colour entirely. With peeling paint or concrete, black and white can strip things back to just form and texture, which can feel more honest depending on the scene.
Sharpening is the last thing I touch, and only where it matters. Masking helps keep it from creeping into areas that don’t need it.
None of this is fixed. Every surface feels different. I try to treat each image as its own starting point and see what it asks for.
Final Thoughts
Focusing on texture has changed the way I move through these spaces. I still notice the rooms, the architecture, the scale of it all, but I don’t rush to photograph the obvious anymore. I’ve learned to slow down first. To pay attention to the walls, the floors, the corners, and the surfaces that don’t ask for attention outright.
Those smaller details often hold something the wider shots can’t. Not just atmosphere, but evidence. Layers, marks, and wear that feel closer to a record of time than a simple view of place.
If there’s anything this way of shooting has taught me, it’s to stay with a scene a little longer than feels necessary. Look closely. Then closer. Let your eye move across every crack, stain, shift in colour, and broken edge before moving on.
On your next exploration, try starting there. Stay with one surface longer than you normally would. See what begins to reveal itself once you stop looking for the bigger picture.