Winter Photography: Essential Tips for Capturing the Cold Season
On the coldest mornings, when most people are reaching for another blanket, I’m reaching for my camera.
That’s because winter brings a stillness I’ve never found in any other season. Snow settles into the smallest grooves of stone and wood. Branches lose their leaves, revealing their structure. Familiar streets look rearranged. The world feels pared back to its framework, and that simplicity has always intrigued me. There’s less distraction. More intention.
Where autumn photography feels generous and warm, overflowing with color and atmosphere, winter is precise. Sparse. It asks you to notice lines, contrast, breath in the air, and the details that usually go unnoticed.
I know many photographers treat winter as an off-season. The cold is inconvenient. The light can feel flat. But I’ve found the opposite to be true.
In this guide, I’ll share how I approach winter camera settings, timing, creative choices, gear care, and editing so you can make the most of the season.

Why Winter is Worth Shooting
Winter does something no other season can. It simplifies.
A fresh snowfall clears visual clutter in an instant. Footprints disappear. Patchy grass, stray litter, uneven ground, all of it softens into one continuous surface. The eye has somewhere to rest, and compositions feel cleaner without trying to be.
The Winter Aesthetic
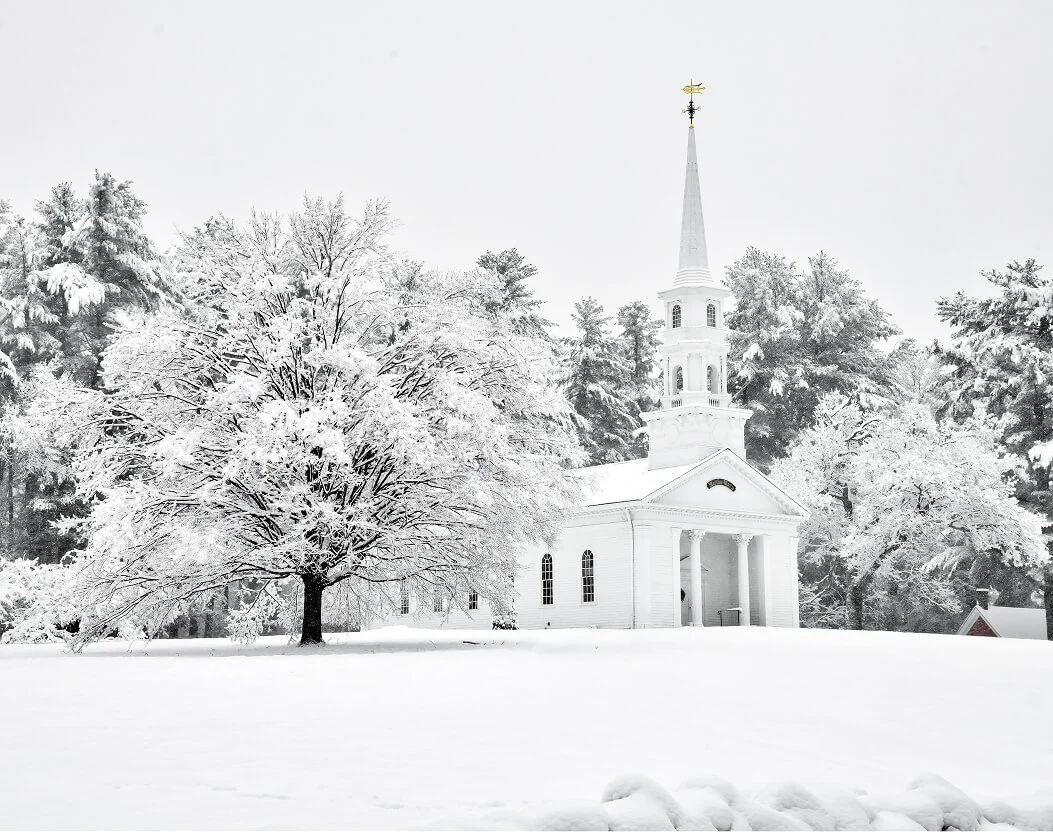
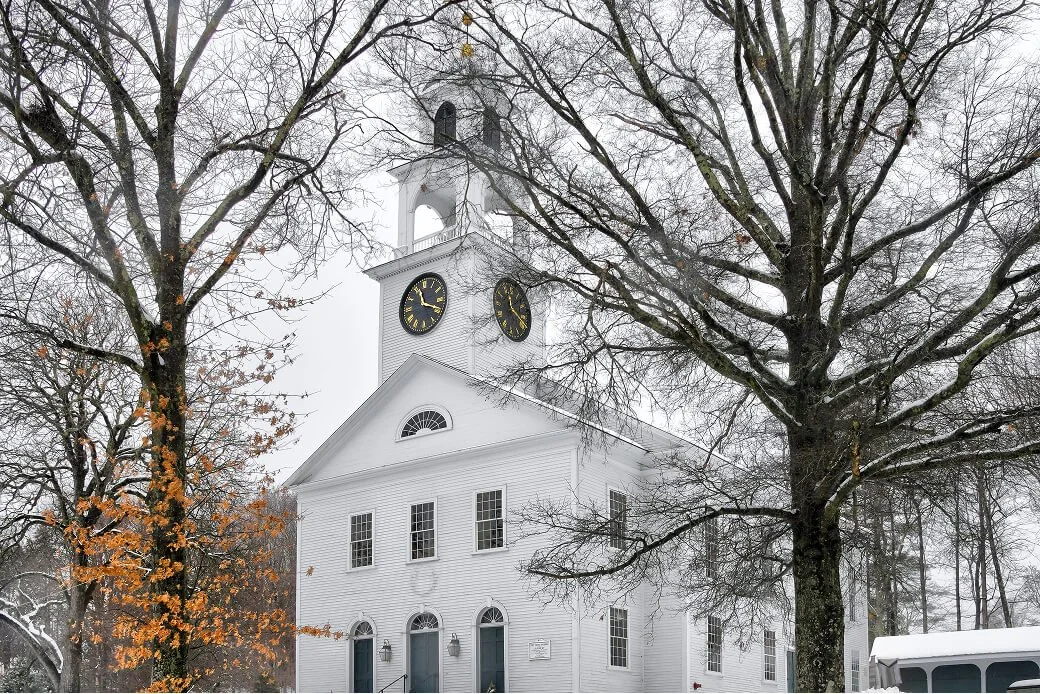
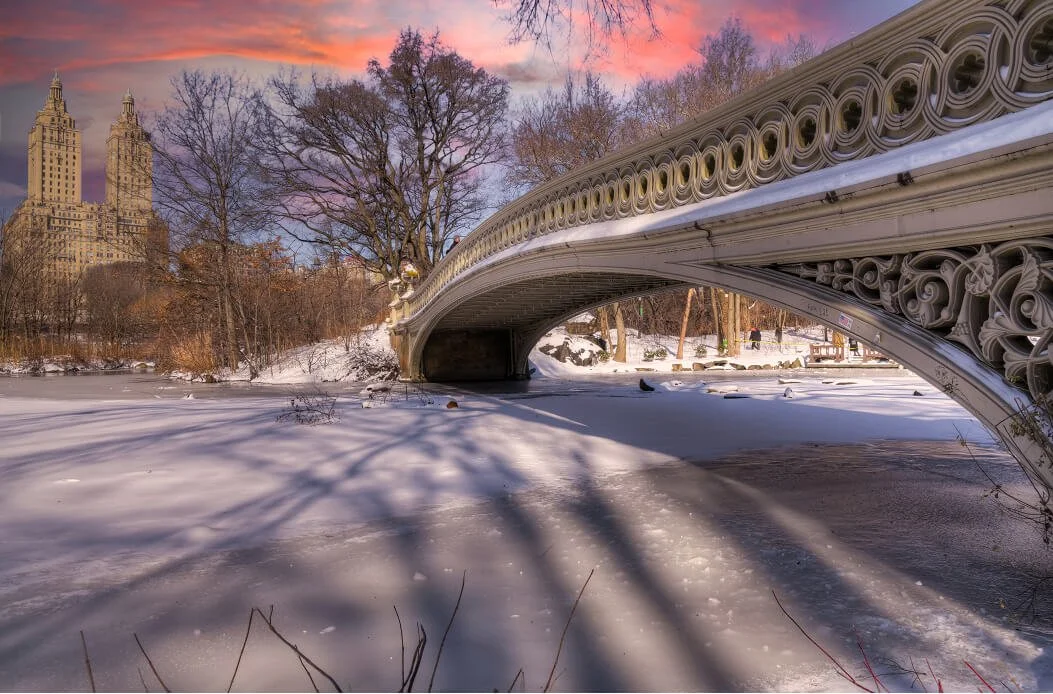
The near-monochromatic palette changes everything, too. When the landscape quiets into whites, greys, and muted blues, even the smallest saturated color carries weight. A red door. A rusted railing. A single evergreen. They don’t compete; they anchor the frame.
And then there’s the light. The winter sun stays low, stretching shadows across streets and fields long past what golden hour would allow in summer. Texture becomes visible. Surfaces reveal themselves. Add in dramatic skies that roll in without warning, and you get an intense atmosphere that warmer months rarely deliver.
My Honest Thoughts
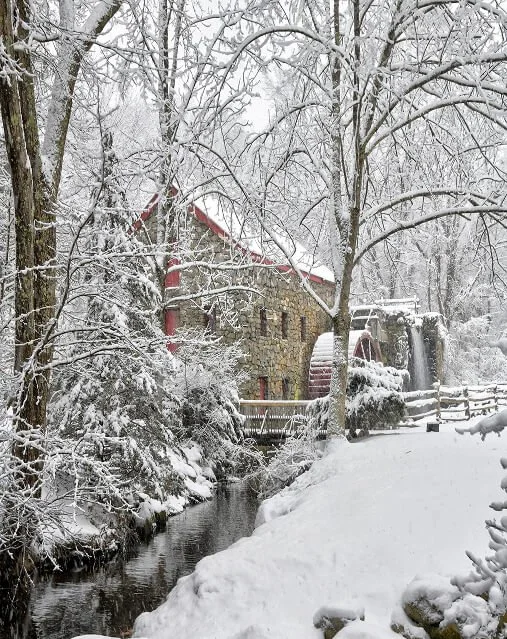
Some of the photographs I’m most proud of were shot in the dead of winter. When the cold worked its way through my gloves and made small adjustments feel almost impossible. One of my favorites is of a weathered barn I had passed for years without really seeing.
In summer, it sat behind tall grass and tangled bush. But one January morning, the field had flattened into white. The distractions were gone. The boards looked darker. The sag in the roof felt more pronounced. It finally held the frame on its own.
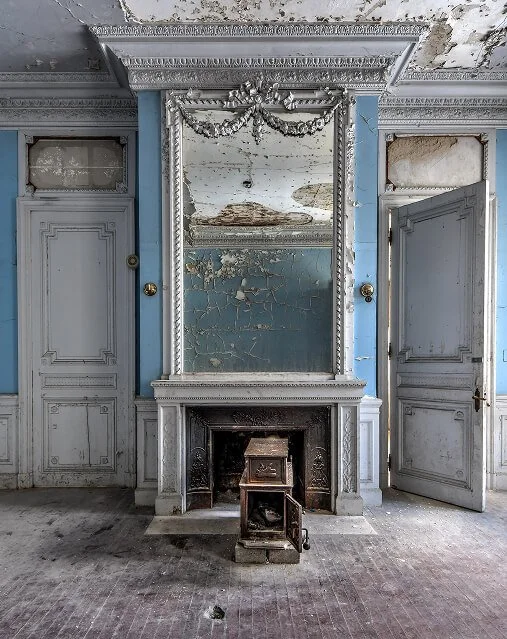
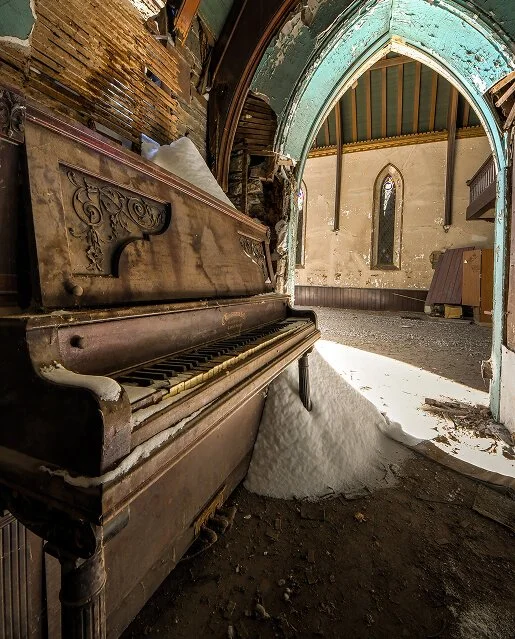
Winter reminds me of urbex photography in that way. It rewards the photographer who shows up when it would be easier not to. It asks for patience, and in return, it gives you something stripped down and totally honest.
The Best Time To Shoot In Winter
Winter light doesn’t behave the way it does in other seasons. It sits lower, and its movement is unique. Just pay attention, and you can use it to your advantage.
Golden Hour
In summer, golden hour feels like a race. In winter, it lingers. The sun never climbs very high, which means that warm, directional light stretches longer across the day. Snow catches that glow and softens it, often shifting into pale pinks and muted golds that feel almost surreal. I’ve tried recreating that warmth in editing before, and it never quite matches what happens naturally.
The tradeoff is timing. The window arrives earlier and fades quickly, so planning matters. I’ve learned to check sunset times carefully and be in position before the light turns.
Blue Hour
This is winter’s best-kept secret. That brief stretch just after sunset or before sunrise can completely reshape a scene. Snow absorbs the fading light and turns a deep, luminous blue, while street lamps, glowing windows, or even a single porch light add the perfect touch of warmth. In small towns and city streets, that contrast feels almost cinematic.
But be warned, this time frame is unforgiving. You have to be ready. Because once it passes, it’s gone for good.
During and After a Storm
The hour immediately after fresh snowfall is rare. Before footprints and tire tracks interrupt the surface, the landscape feels untouched. That’s when I move quickly. I try to scout locations ahead of time and keep a bag packed so I can head out as soon as conditions shift.
Shooting during a storm can be just as powerful. Falling snow adds motion and atmosphere, especially against darker buildings or trees. You just have to be willing to battle the elements.
Flat Midday Light
Overcast winter afternoons are more useful than they get credit for. When the sky turns solid grey, shadows disappear, and contrast softens. Even light is ideal for forest scenes, where repeating trunks and branches need balance instead of glare. It’s also perfect for frost and ice. The fine edges of frozen leaves, the ridges in packed snow, and the delicate geometry of ice crystals all hold their detail without blowing out highlights.
On bright days, those textures can feel harsh and reflective. Under a flat sky, they stay intact. Midday in winter doesn’t have to be dramatic to be effective. Sometimes it’s the most dependable light of the day.
Camera Settings for Winter Light
Winter is one of the most beautiful seasons to photograph, and one of the most unforgiving. Snow throws light in every direction, which means your settings need a lot more intention than usual.
The Snow Problem: Exposure Compensation
Your camera’s meter is designed to look for mid grey. Snow confuses it. Left on its own, your camera will often underexpose the scene, turning bright snow into dull, muddy grey.
I almost always dial in positive exposure compensation as a starting point. Usually somewhere between +1 and +1.7 EV. Then I review the histogram and check my highlights carefully. The goal isn’t to blow the snow out completely, but to keep it clean and luminous rather than flat.
And most importantly, make sure you’re shooting in RAW. Winter scenes have subtle tonal shifts, and RAW gives you the flexibility to recover detail in post if you push a little too far.
White Balance
Snow almost never reads as pure white once you start paying attention. It absorbs whatever the sky is doing. In the early evening, it turns distinctly blue. Near sunset, it can shift toward blush, peach, or even a faint amber along the edges. Those subtle color changes are part of what makes winter light feel alive.
Auto white balance often tries to correct that, pulling everything back to neutral and flattening the mood. I prefer to take control of it. Sometimes I’ll set white balance manually in the field. Other times, I’ll rely on shooting in RAW so I can fine-tune it later without losing detail.
If I’m aiming for a crisp, clean winter look, I’ll stay near Daylight or around 4500K. When I want to lean into warmth at sunset, I’ll move closer to 5500 or 6000K and let the snow keep that natural glow.
Shutter Speed for Snow
Snow gives you options.
If I want to freeze it midair, I’ll raise my shutter speed to 1/800s or faster. Each flake becomes visible, suspended for a split second before it disappears. This works best when there’s something dark behind it (trees, brick, shadow), so the flakes don’t get lost against the sky.
Other times, I slow everything down. Around 1/15s or longer, usually on a tripod. Instead of crisp flakes, the snow turns into soft streaks drifting through the frame. I tend to reach for this first. I like the movement it introduces, especially when wind is pushing snow across an open field or when water is still flowing beneath a thin sheet of ice. It feels less static and more like the weather is part of the story.
Protecting Your Gear and Staying Warm
Winter will test both you and your equipment. A little preparation is what lets you stay out longer and keep your attention on the shot instead of the temperature.
Gear Protection
My winter setup looks a lot like what I carry for urbex photography, with a few additions for the cold.
The first thing on my mind when I head out is battery life. Cold drains batteries fast. So I carry at least two or three spares and keep them in an inner pocket close to my body. When one fades, I rotate it out and warm it up. You can often squeeze more life from it that way.
Condensation is the bigger threat. When you move from freezing air into a heated space, moisture forms quickly on and inside your camera. I seal mine in a bag before going indoors and let it adjust for fifteen or twenty minutes. It’s not glamorous, but it protects your gear.
If snow is falling heavily, a simple rain sleeve adds peace of mind. Weather-sealed bodies help, but extra coverage never hurts. I’ve also learned that carbon fibre tripods are far kinder to your hands than metal, and much easier to manage in gloves.
Dressing for a Shoot
The mistake I made early on was dressing as if I were walking. See, you warm up by carrying your bag. Then you stop. And within minutes, the cold catches up.
Now, I dress for when I’m standing still.
Thin liner gloves under thicker gloves are essential for me. I can peel back the outer layer just long enough to adjust a dial, then cover up again before my hands lose feeling.
Waterproof trousers are just as important. Winter shooting often means kneeling or lowering your tripod. Snow melts quickly against fabric, and once your jeans are damp, the chill stays with you. A waterproof layer keeps you dry and extends your time outside.
Footing also matters. Solid boots with dependable grip keep you stable when your focus is on composition, not balance. On icy terrain, microspikes add security and let you move confidently rather than cautiously.
Editing Winter Photos
Winter files can look deceptively simple. A lot of white. Subtle tones. Minimal color. That simplicity is exactly why I’m careful when editing winter photos. My goal isn’t to dramatize the scene; it’s to protect what the light was already doing.
Key Adjustments
When I bring a winter image into Lightroom, I move slowly and methodically.
I usually begin with the snow itself. I’ll pull the highlights down just enough to recover texture, then ease the whites back up so the scene still feels bright and clean. Snow should glow, not glare.
From there, I adjust white balance. This is where the mood settles in. Cooling the frame gives it a crisp, graphic edge. Warming it, especially if the light was low when I shot it, makes everything feel more inviting. It’s less about correcting color and more about deciding how the scene should feel.
Then I turn to the shadows. Winter often carries blue into darker areas, and I’ll either deepen that cool tone or soften it slightly, depending on the story I want the image to tell. A gentle lift in contrast restores separation so the scene doesn’t read as flat. After that, I carefully add texture, usually between +15 and +25, just enough to reveal frost and ice without making the image brittle.
Then, once everything else feels balanced, I’ll often apply a subtle split tone, cooling the shadows while keeping the highlights neutral or somewhat warm. That slight warmth in the brighter areas balances the blue tones, creating a classic winter editorial look. It adds depth without overpowering the image.
Try these adjustments the next time you’re editing a winter frame, and trust your eye.

Final Thoughts
Winter changed the way I photograph because it removed the crutches I used to rely on. When the color falls away, and the landscape narrows, there’s nothing left to hide behind. Every choice feels more deliberate. Every frame asks a little more of you.
It’s easy to wait for spring or to convince yourself you’ll start again when it’s warmer. But I encourage you to get out there. Why? Because winter has its own rewards. It trains you to notice subtle shifts in tone, the weight of open space, and the way low light shapes a building or a field.
Photographing autumn means responding to abundance. Photographing winter means learning to do more with less. Every season challenges you differently, and each one refines the way you see. I hope you continue to explore them all with an open mind and a ready lens.