
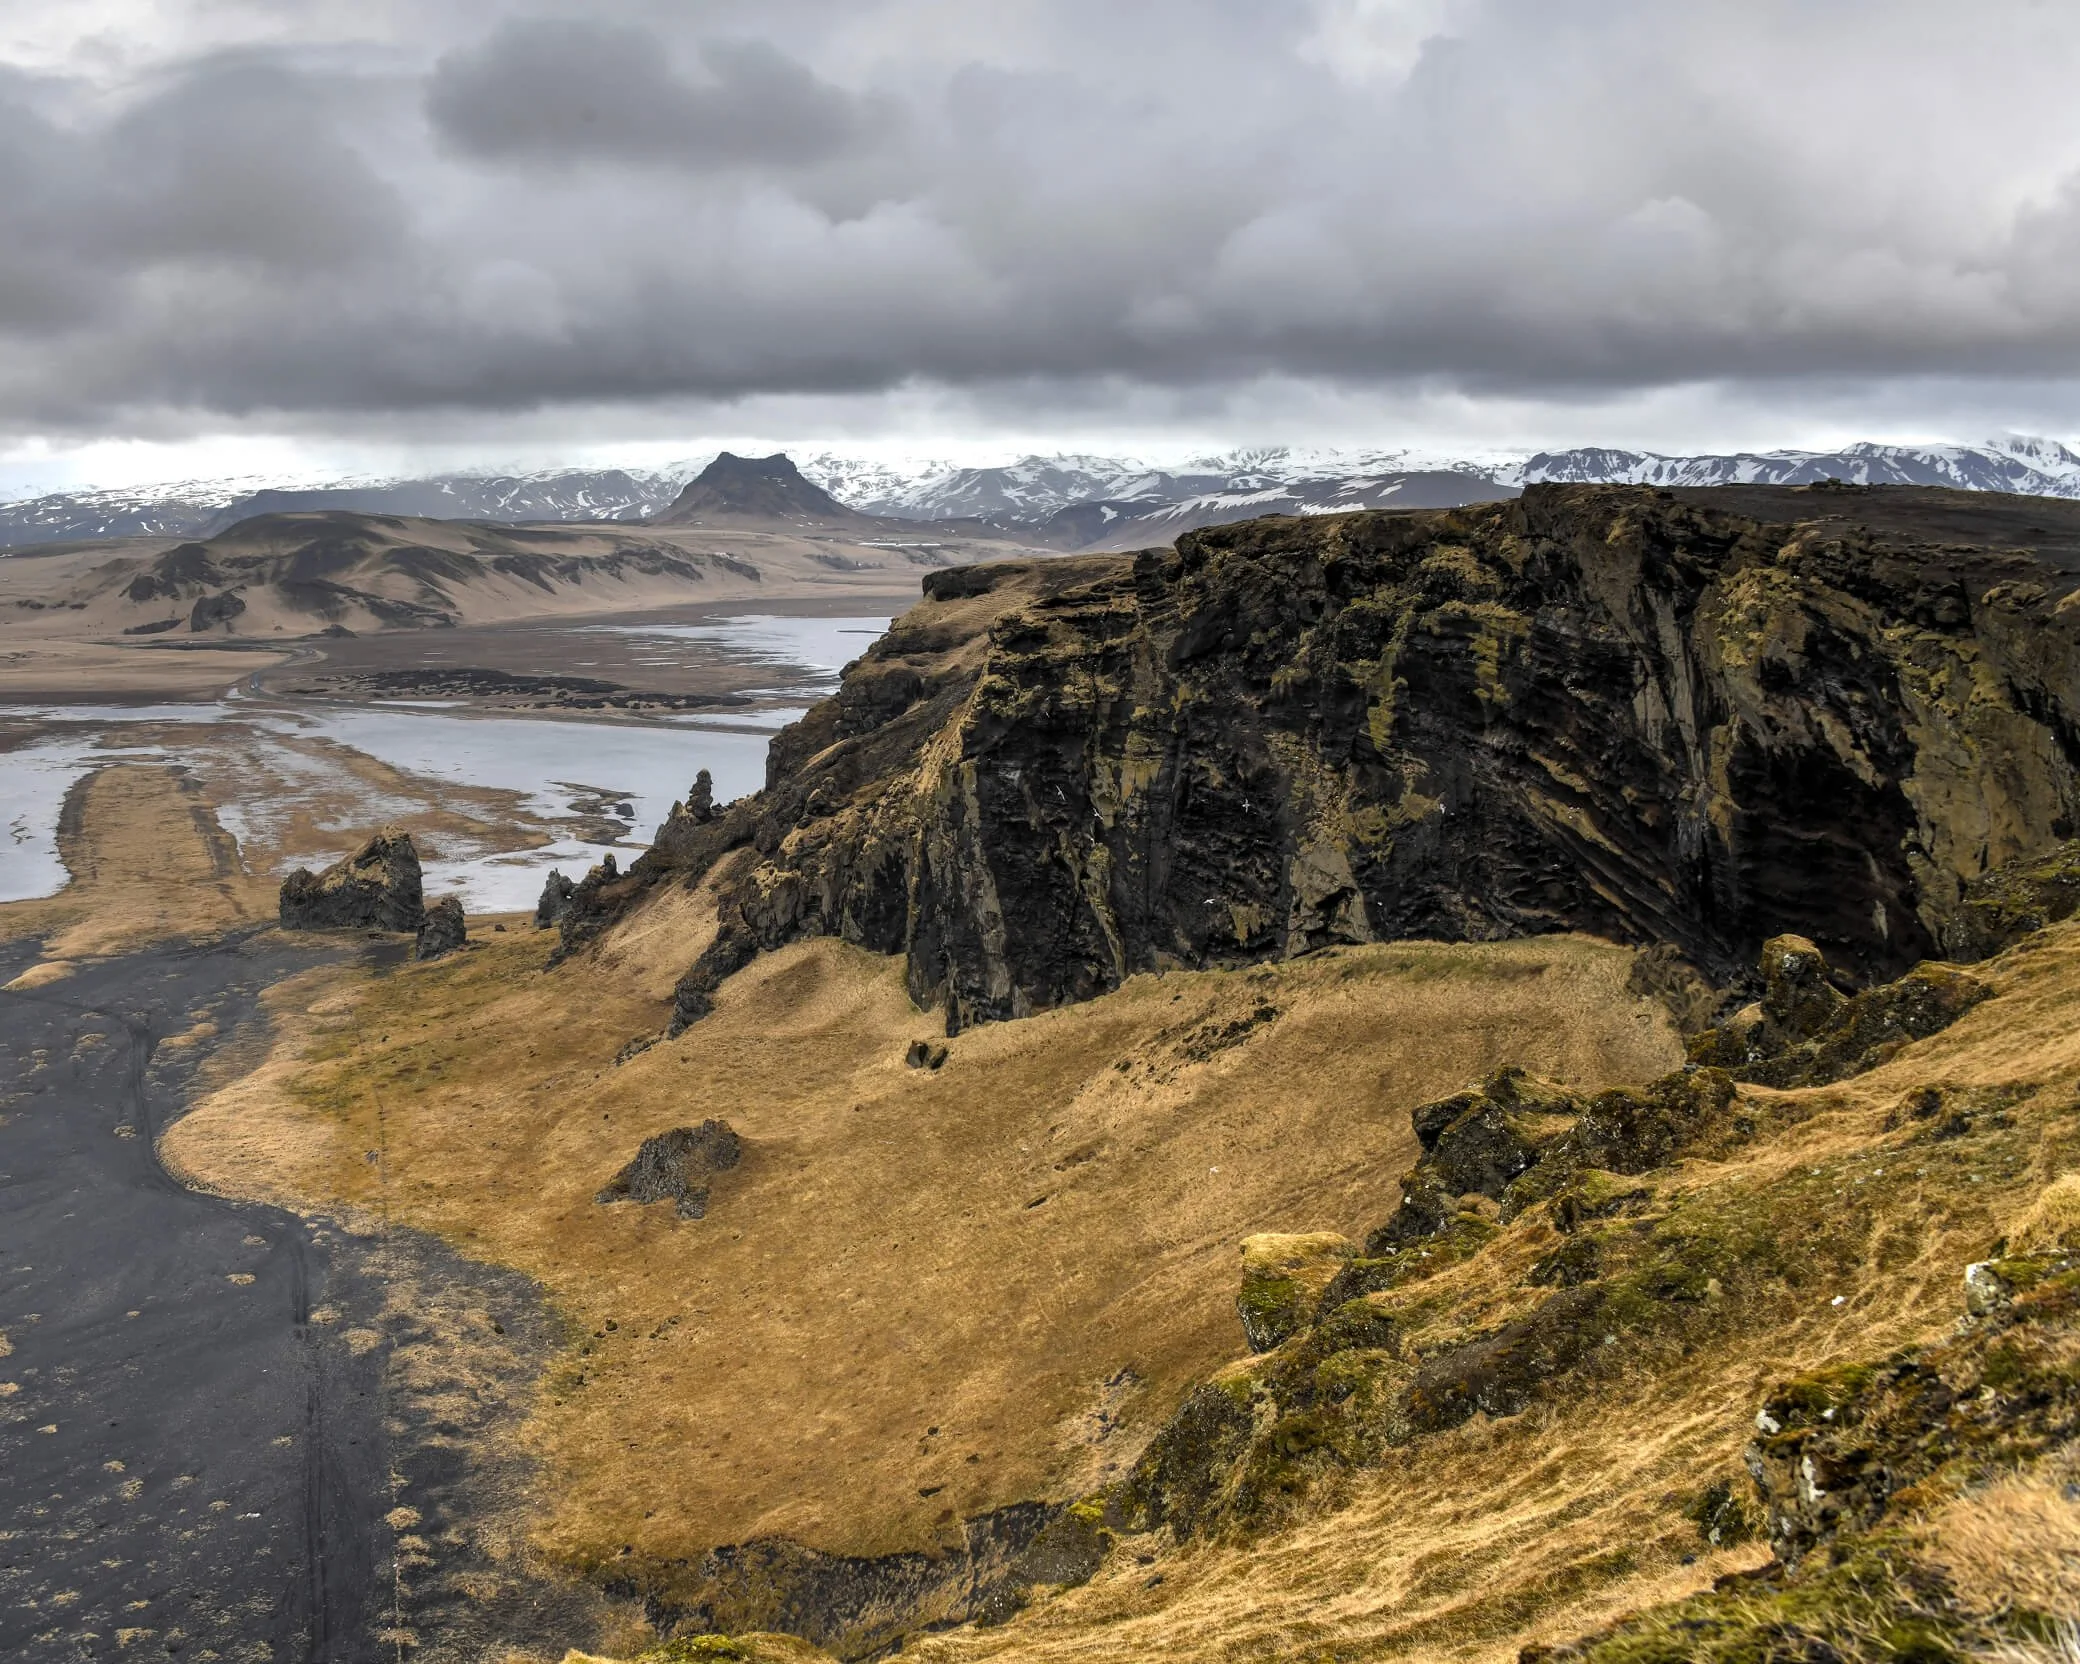
The first time I set up at Kirkjufellsfoss, I counted twenty-nine other tripods lined up along the same short path. All of them pointed at the same thing: the three cascades in the foreground, the cone of Kirkjufell behind, the exact frame that appears on every Iceland photography page on the internet. The picture I had come for was gone before I pressed the shutter, not because the weather turned, but because thirty cameras were going to make the same photograph.
That is the problem this post is about. The photography locations that make Iceland worth shooting - especially in winter - are the same ones in every guide and every portfolio, and on any given morning you will not have them to yourself. I have been four times. The first trip, in 2016, was before I owned a camera, and the country is a large part of why I picked one up. The three trips since have been about going back for the frames I had in my head before I knew how to make them: the picture you came for is rarely the picture worth coming back with.
What follows is where to go on an Iceland landscape photography trip, when the light and weather make it worth it, and how to find a frame nobody else is taking that day.
Table of Contents
What Iceland Is Like to Photograph
When to Go, and How Much Daylight You Get
Reading the Weather Like a Photographer
The Locations, and How to Shoot Them Differently
Shooting Where Everyone Else Is Standing
Northern Lights Without the Myths
What Didn't Work
Going Back
Treading Lightly
Final Thoughts
Iceland Photography FAQs
What Iceland Is Like to Photograph
Iceland is harder to photograph than its reputation suggests. The scale is wrong for most lenses: valleys that look modest in a frame are miles across, and a waterfall you can see from the road may be an hour's walk from a position worth setting up at. The weather moves through faster than you plan for, and the famous places are not quiet.
The drive is the other thing nobody warns you about. The Ring Road is 1,332 km, and planning three locations in a day on paper tends to become two in practice, often one. Headwinds in winter cut your average speed. Road closures add hours. The sooner you plan around all of this, the better the trip gets.
The Weather Is the Subject, Not the Obstacle
The best weather for Iceland photography is weather. Flat blue sky is often the least interesting light for dramatic Icelandic landscapes. Rain squalls crossing a ridge, low cloud tearing off a cliff and the two-minute gap of sun after a front has passed through are what makes the pictures. Once you accept that, you start looking at the forecast differently. A rough day is a day with pictures in it, and a flat clear one is a day you stay home.
When to Go, and How Much Daylight You Get
There is no single best time to visit Iceland for photography. There are four different trips, and each one gives you something the others cannot. Which to choose depends on whether you want aurora, long daylight, snow on the ground, or the balance of all three.
Shooting Hours by Season
Daylight varies with where you are on the island. These numbers are rough and worth checking against a sun calculator before you lock an itinerary.
What Each Season Gives You
Summer is the easy answer and the most crowded. Everything is open and the light is long enough that you can shoot a sunset at one location and drive to the next for a second one. The trade is that there is no real night, so no aurora.
September is what I would choose if I were going once. Aurora season starts in mid-month, the days are still long enough to work, and tourist numbers drop as European schools go back. March reverses the trade: the darkness is thinning but still enough for aurora on good nights, and the snow is still on the ground where it matters.
December is the hardest and in some ways the most rewarding. The whole day sits in the quality of light other places get for twenty minutes at sunrise and sunset. There is more on how long the light lasts this far north in another post.
Reading the Weather Like a Photographer
The best thing I learned over four trips is that you do not plan an Iceland photography day the night before. You plan it four hours before, when the forecast resolves enough to tell you where the gap is.
The Two Forecasts That Matter
For aurora season, the single most useful page is the Icelandic Met Office aurora forecast. It puts the two things that matter on one screen: geomagnetic activity on a nine-point scale, and a cloud cover map where white is clear sky and green is cloud. A Kp 7 under solid cloud isn't worth much, and no other forecast tool answers both questions together. Outside aurora season, the same site's weather forecasts and cloud map matter more than any commercial travel-weather app.
Warning Colors, and When to Stay Put
The Met Office issues color-coded warnings: yellow for moderate, orange for dangerous, red for extreme. A red or orange warning over your planned area is a stay-in day. People do die in these storms.
Building a Day Around a Two-Hour Gap
Iceland rarely gives you a clear day. It gives you gaps. The method that worked on my last trip was this: open the cloud map in the morning, find the two-hour clearing on it, and figure out which location sits under it. Then go there, even if that location was not on your plan. Always hold a reserve in the opposite direction, because a front crossing the island often means the far coast is doing the reverse of your current one. A four-hour drive sometimes buys you a day's worth of photographable weather.
Roads Decide the Itinerary
Weather is only half of what gets you to a location. The other half is whether the road is open. The road authority publishes what is open at any given hour. Only about 5,000 of the country's 12,000 km of classified road get regular winter service, live conditions are on umferdin.is, and there is a free SMS alert service for avalanche risk on six named roads. Both closures and avalanche warnings are routine in winter and both are visible before you drive to them.
The Locations, and How to Shoot Them Differently
The best places to photograph in Iceland are mostly the famous ones, and a quick Google search will tell you where they are. Rather than add another list, here are three photography spots in Iceland I spent real time at. Each gets the same treatment: what everyone else shoots, what I shot instead, and the practical catch nobody writing from a hotel room mentions.
Kirkjufell from Kirkjufellsfoss, Snæfellsnes Peninsula
What everyone shoots there. The cascades-and-mountain frame in landscape orientation, with the three steps of Kirkjufellsfoss leading to the cone of Kirkjufell behind. It is the single most photographed view in Iceland. On the September afternoon I was there, I counted close to thirty tripods along the path, all set up for the same composition.
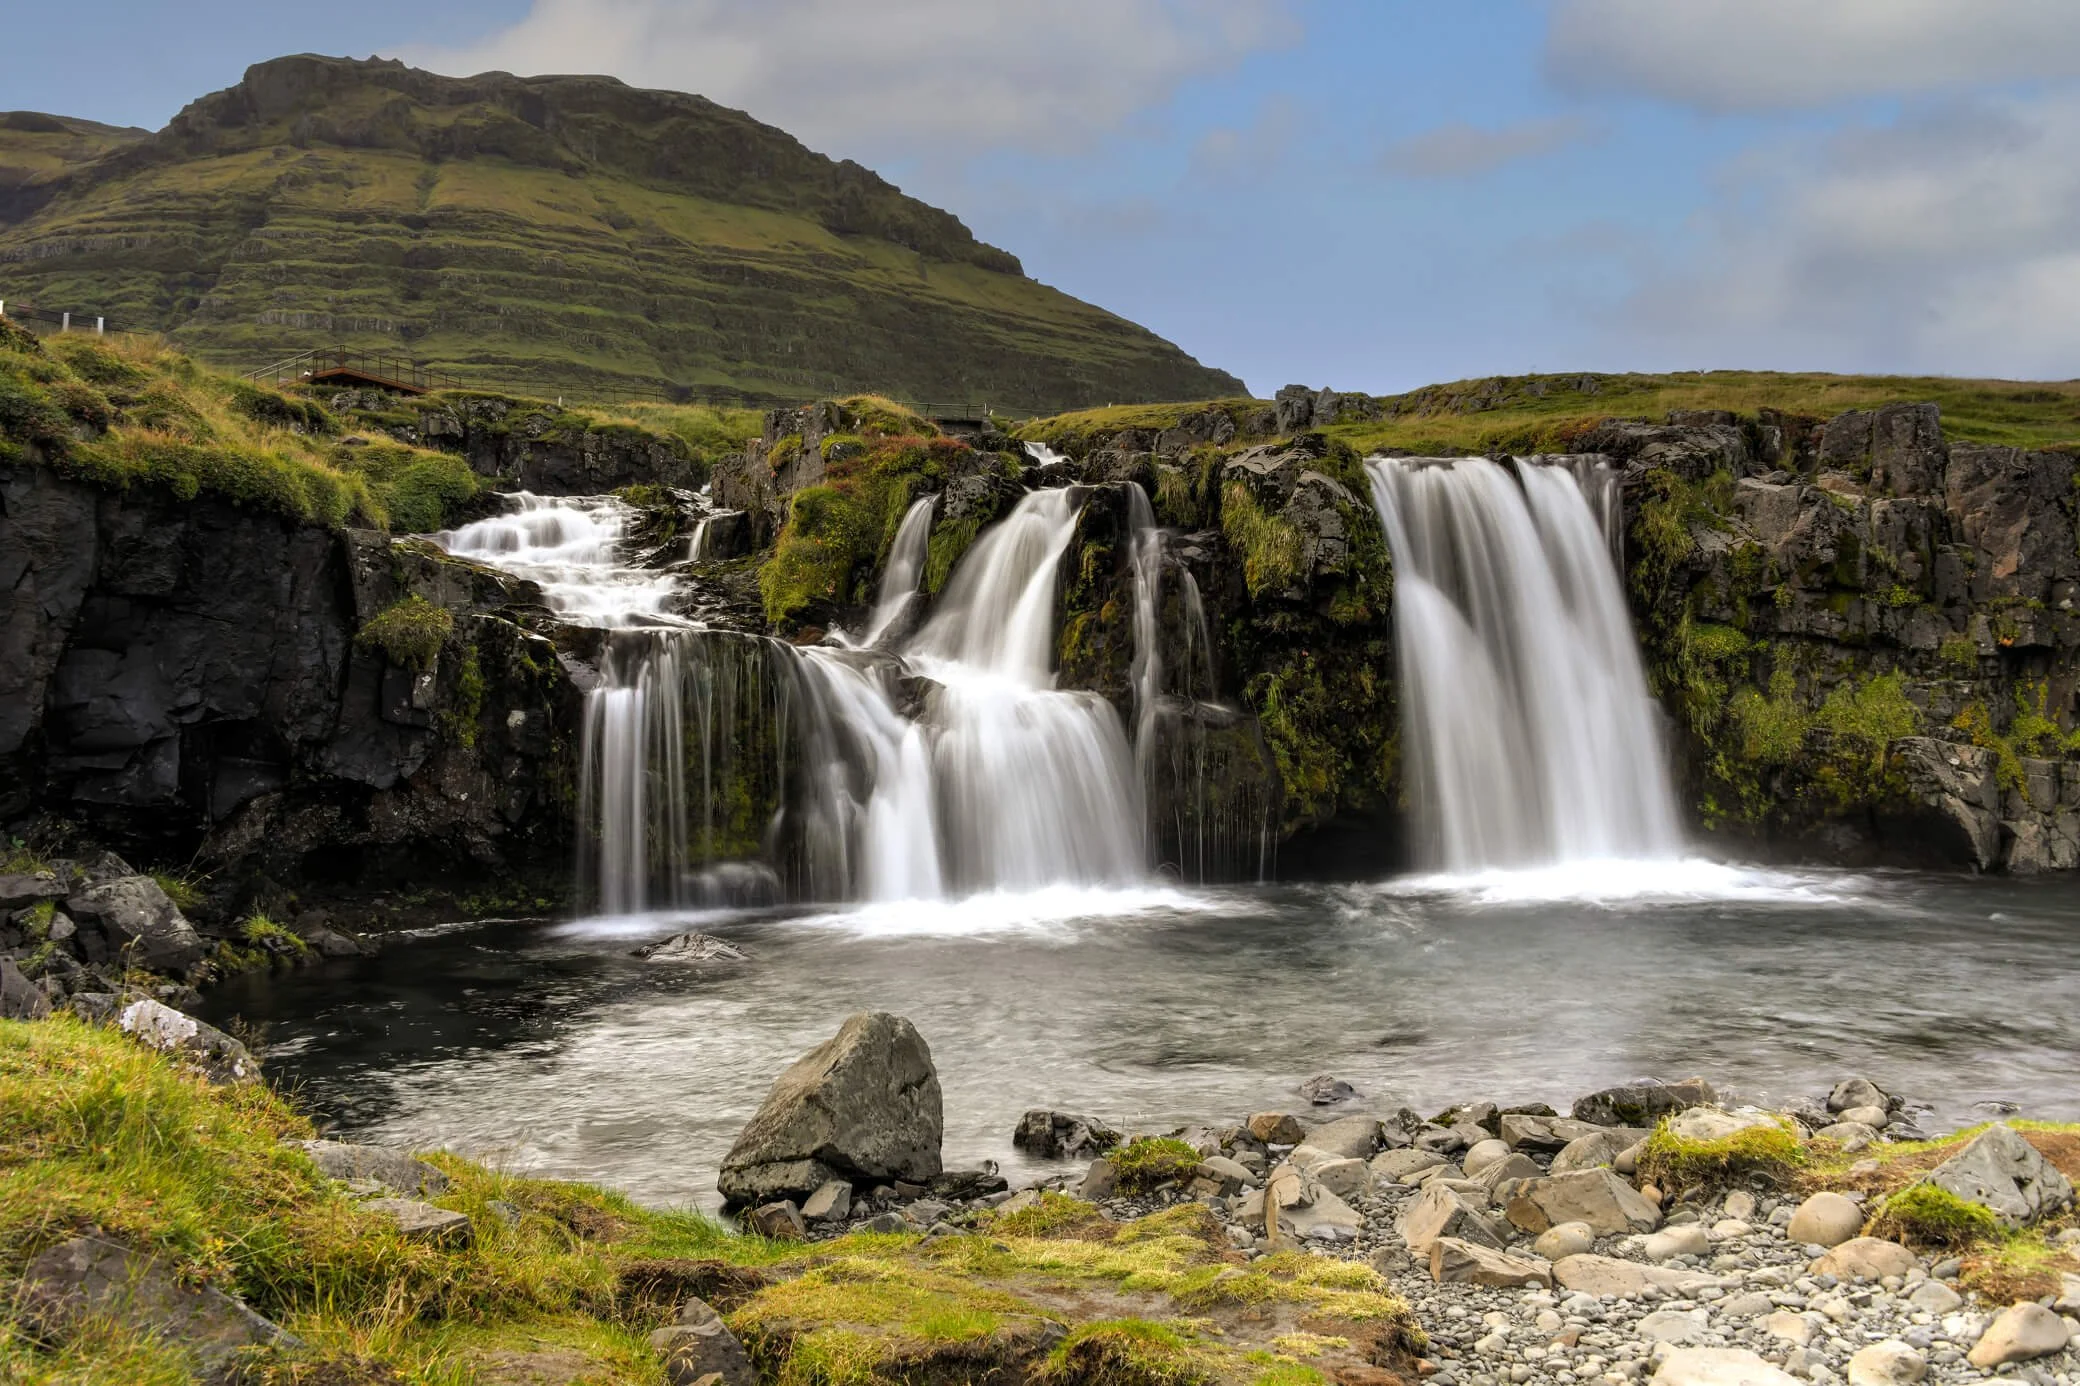
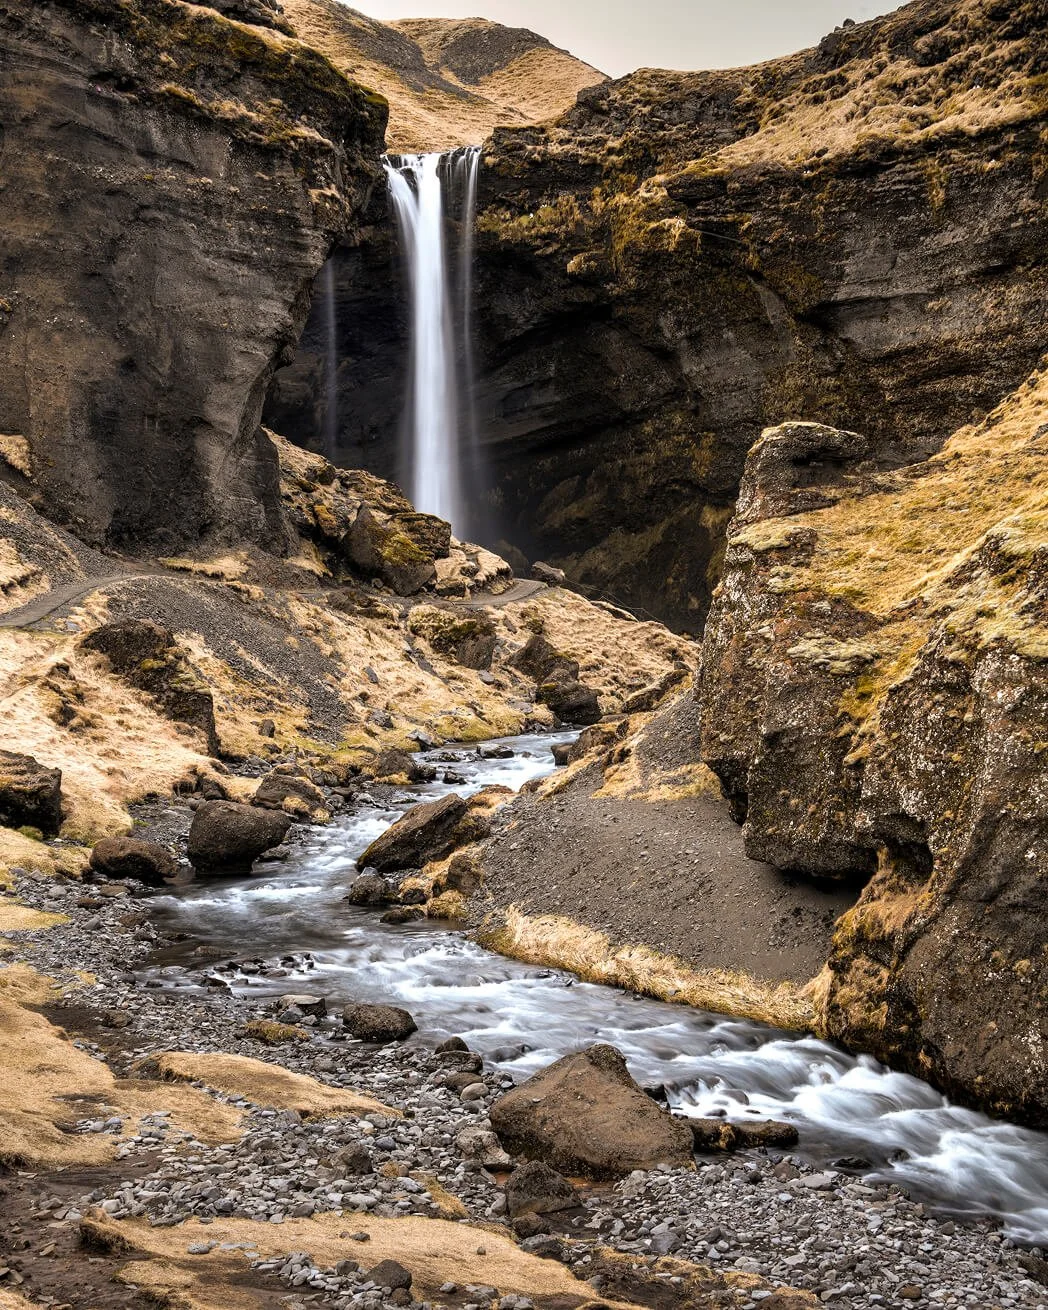
What I shot instead. I worked the scene three ways. The classic frame first, to have it. A portrait orientation that gave the mountain more vertical weight. Then I turned ninety degrees and shot the waterfall on its own, cascades and rocky pool with no mountain in the frame. The last one is the one I use. How I shoot moving water covers the shutter and filter decisions on that frame.
The practical catch. Short walk from the Route 54 car park outside Grundarfjörður. Busiest mid-afternoon into sunset, which is also the best light. Pre-dawn is the only way to be alone there in summer.
Seljalandsfoss, Behind the Curtain, South Coast
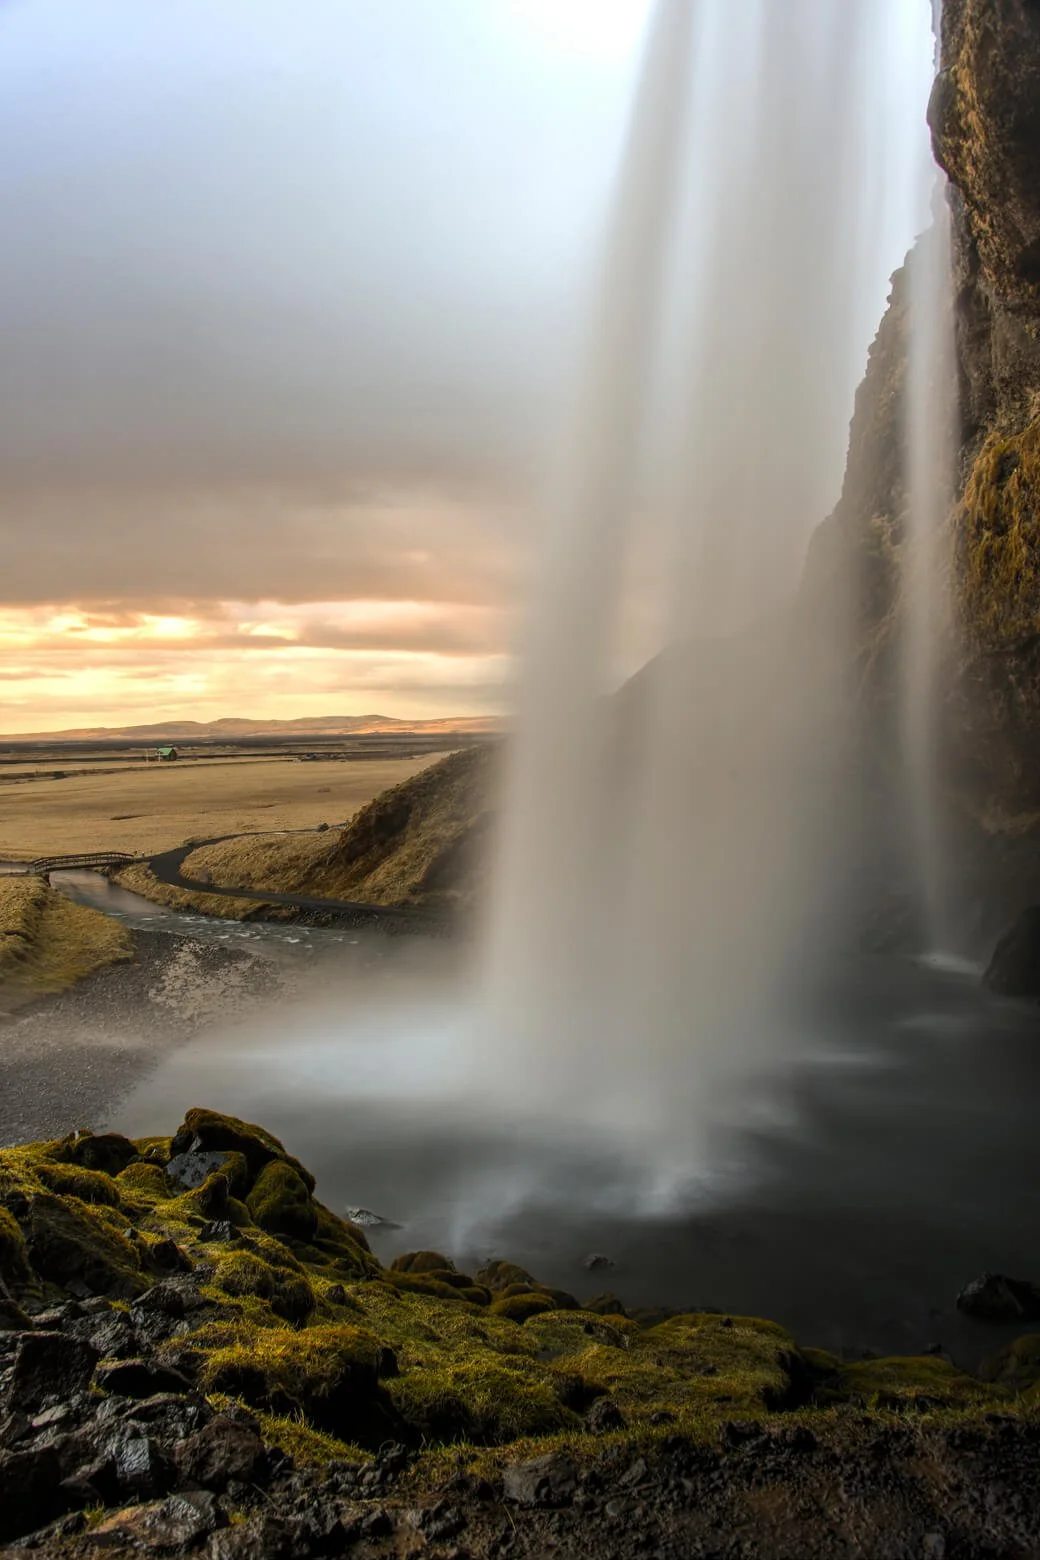
What everyone shoots there. The front-on view from the field, head-on at a long shutter speed. The viewpoint sits on a mown path forty meters from the base, and nearly every Iceland guide uses a frame taken within a few meters of that spot.
What I shot instead. The reason to come here is that you can walk behind the falls, into the rocky recess under the overhang, and shoot out through the water. The frame I took at sunset looks past the falling curtain toward the coastal lowlands, with the lit sheet of water between the camera and the sky. The classic shot is also a wet one, so the behind-the-falls version is really a trade.
The practical catch. The path behind the falls is narrow, slippery, and the spray coats everything in seconds. Rain cover and a cloth, not optional. In winter the path ices over and the site closes the back access entirely. Parking is paid and fills by mid-afternoon.
Vestrahorn from Stokksnes, Southeast Iceland
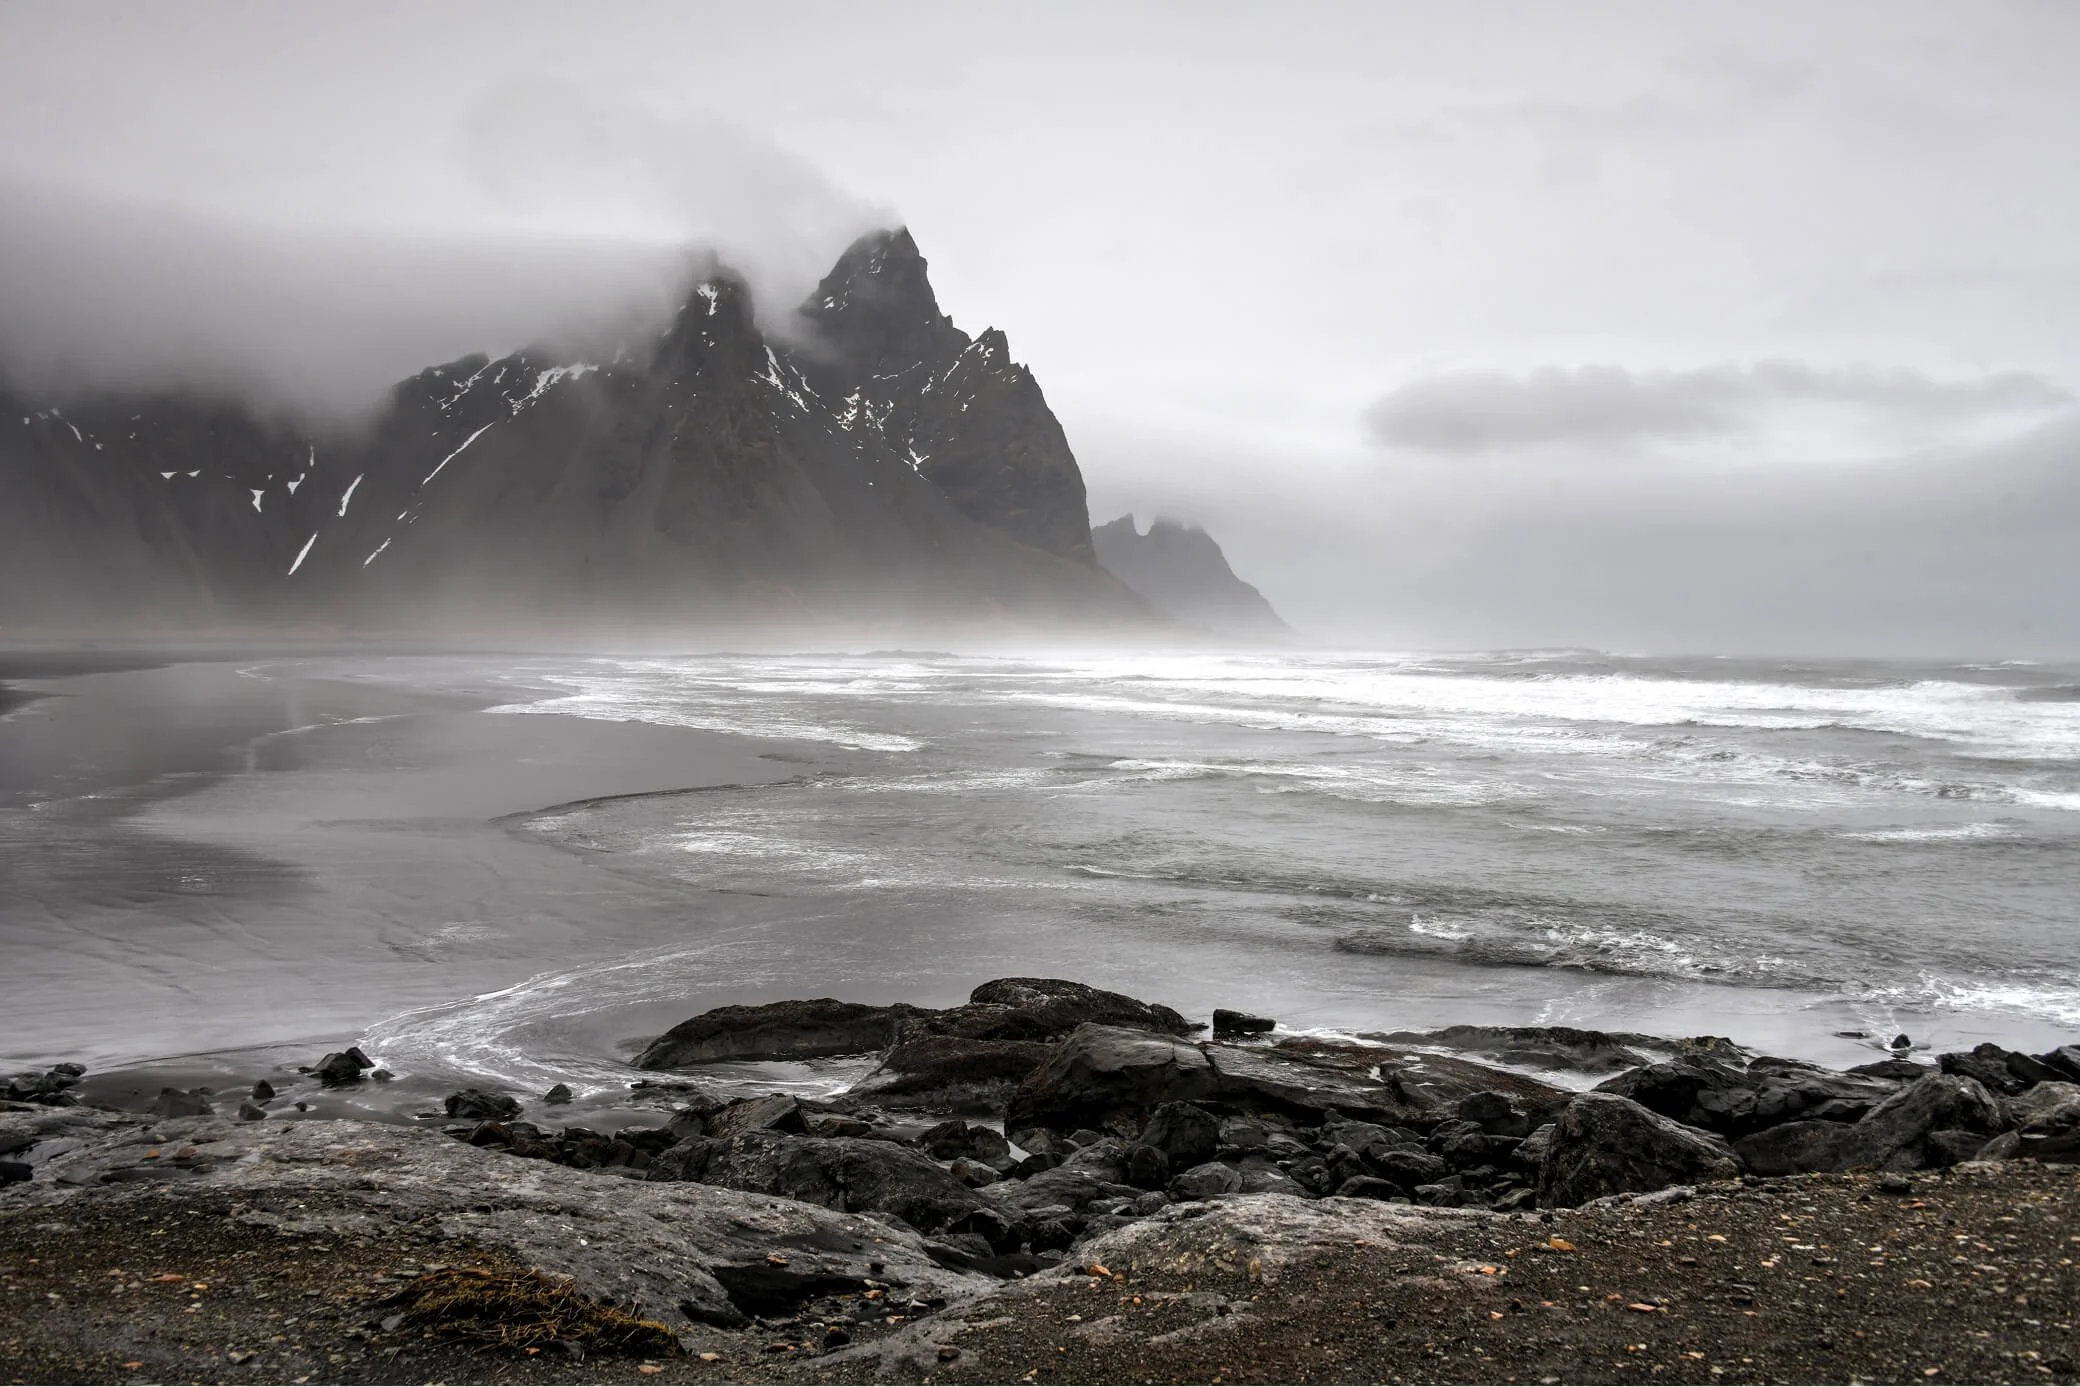
What everyone shoots there. The textbook Vestrahorn frame is the mountain reflecting in a thin layer of water on wet sand at low tide, with the dark peaks mirrored exactly. Turn up at low tide on a calm clear day and you will find a line of photographers waiting for the water to go perfectly still.
What I shot instead. I did not get the reflection. What I got was a frame with low clouds wrapping around the jagged peaks, black sand streaked with Atlantic surf beneath them, no mirror. The clouds were the subject that day, and the mountain was something they moved across. It is the stronger of the two photographs.
The practical catch. Access gate at the Viking Café by the Stokksnes parking lot near Höfn, modest fee. The reflection shot wants a calm low tide and gets both infrequently; the weather shot works in almost anything the Atlantic throws at it. The wind at Stokksnes is routinely vicious. Weight the tripod.
Shooting Where Everyone Else Is Standing
Most of what matters about photographing Iceland is not technical. It is tactical, and the tactics work anywhere crowded, not only here.
Go tighter. The wide postcard frame has been taken thousands of times. A detail of basalt columns, a shard of beach ice, a run of water against black rock has not. The telephoto earns its weight at a famous location, not the ultra wide.
Shoot the weather, not the landmark. The mountain is everybody's. The rain squall crossing it for ninety seconds is yours alone.
Turn around. The view behind the car park is unphotographed almost by definition. At every well-known viewpoint I have been to, the frame nobody shoots is the one 180 degrees from the signpost.
Come back at an hour nobody else will. The crowd has a schedule, and the schedule is daylight. Pre-dawn and after full dark empty the lot.
Shoot the ground. Black sand, moss, ice fragments, a single feather. Any of it carries the place as well as the skyline, and none of it is in any guide to the location.
Accept the people. When the crowd will not clear, let them into the frame. A photograph that includes thirty tripods is honest about what the place has become.
Northern Lights Without the Myths
The honest version of Iceland northern lights photography starts with what nobody writing an aurora guide wants to say first: you can do everything right and still not see them. The clouds come in, the solar activity drops, you wait four hours in the cold and drive home with nothing.
The two-forecast habit from earlier matters more here than anywhere. Geomagnetic activity means nothing under cloud. A weak aurora over an interesting foreground makes a better photograph than a strong one over flat ground, so pick a location you would shoot without the lights, and treat the lights as a bonus.
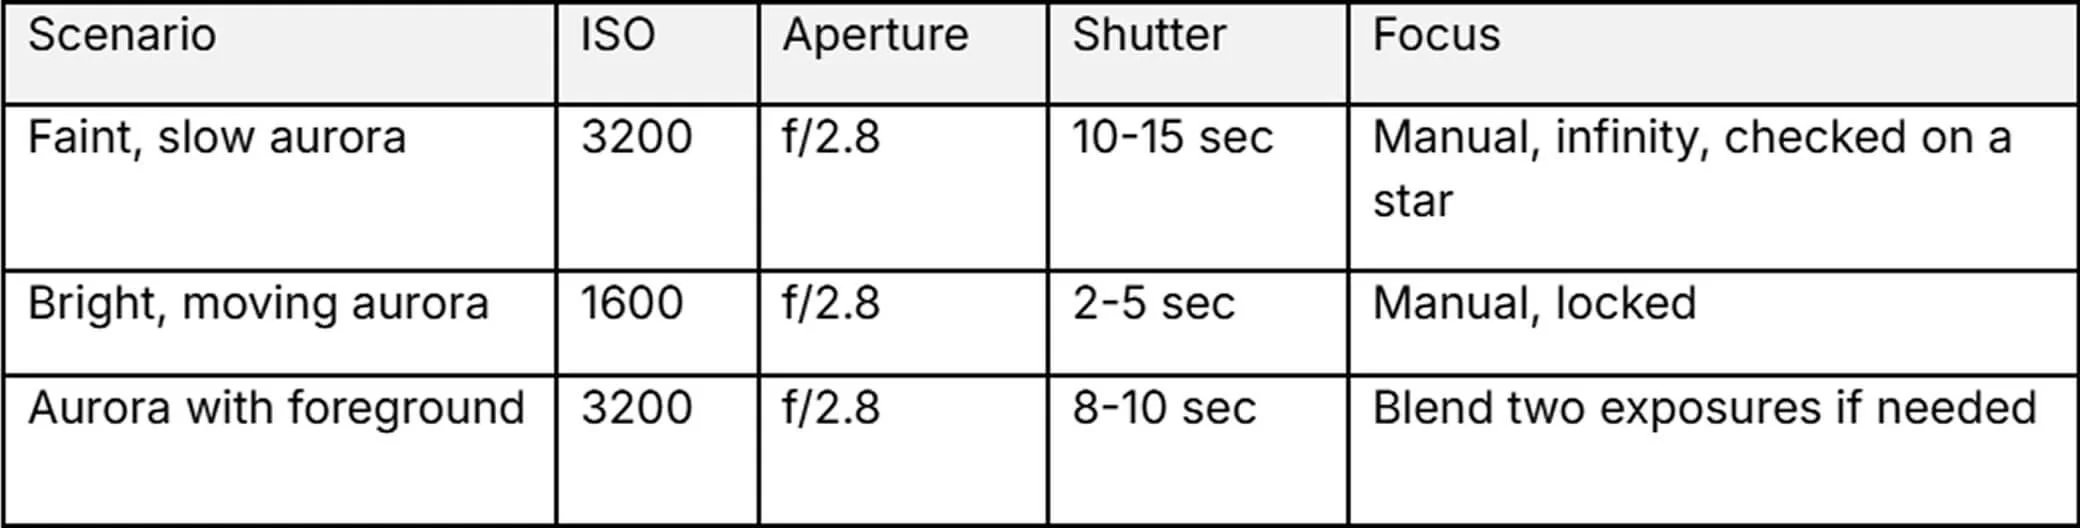
These are a starting point. Expose for the aurora, not the foreground, and bracket if the light underneath is dark enough that a single frame cannot hold both. Cold drains batteries faster than you expect, and what I pack for this kind of trip now covers how I keep spares in rotation.
What Didn't Work
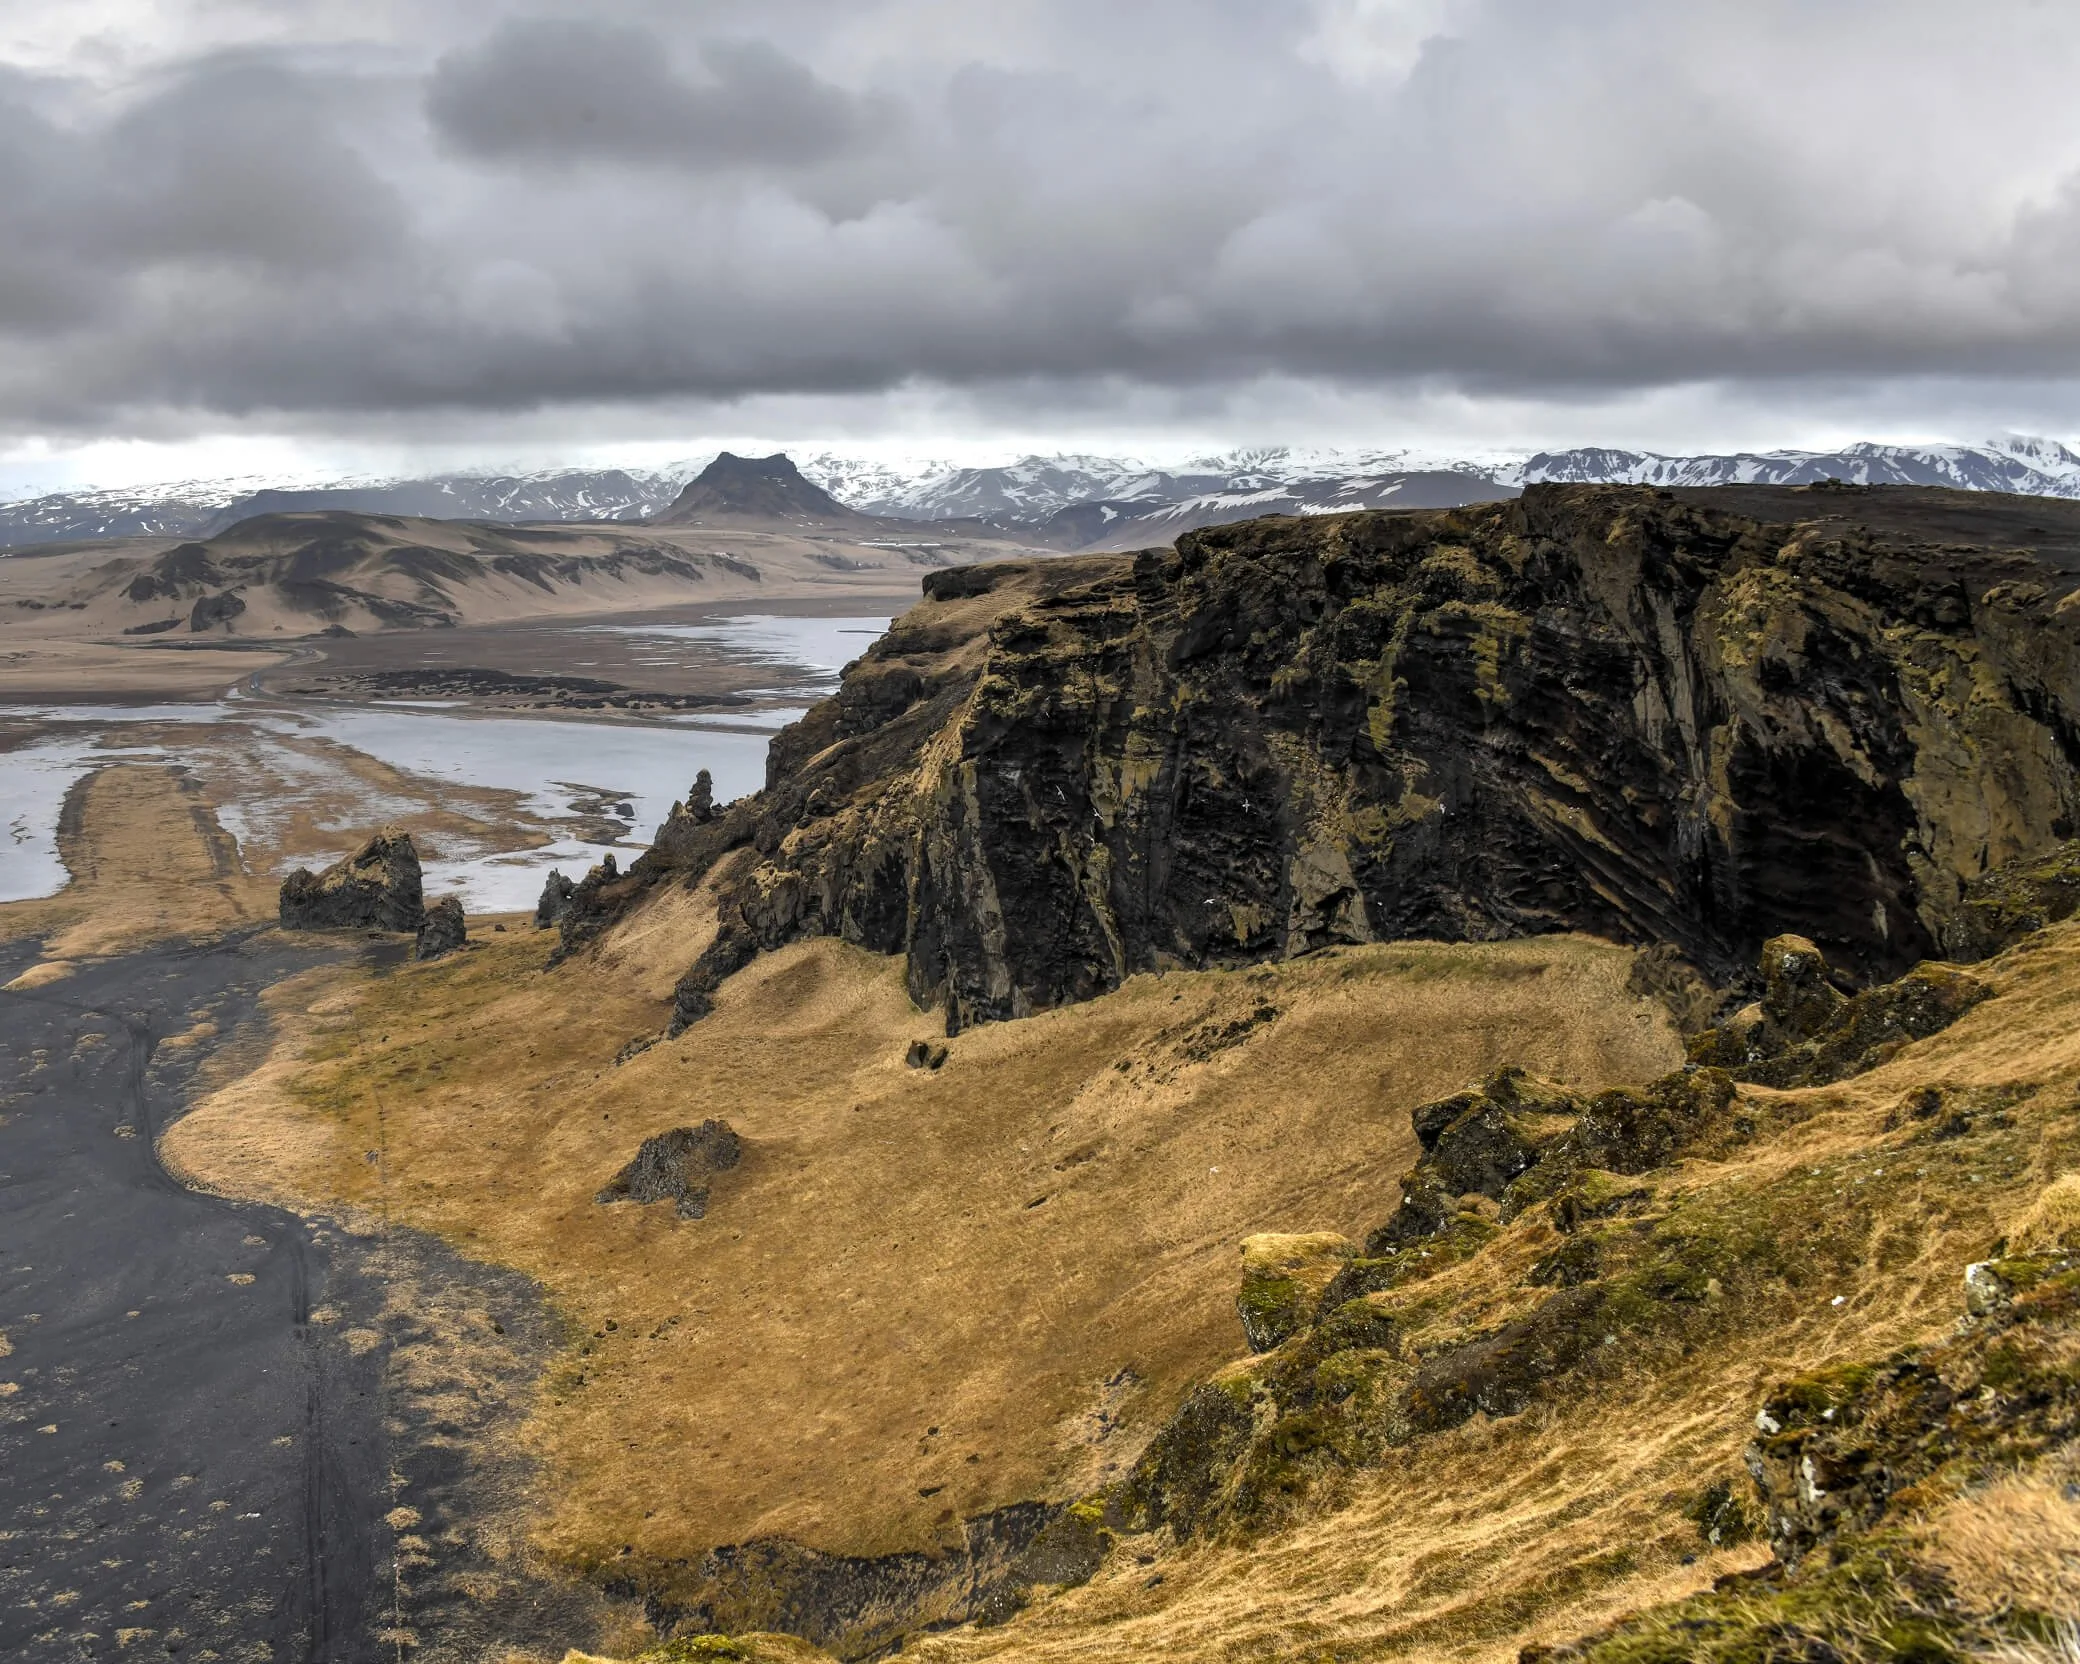
The wind at Dyrhólaey was the single biggest thing that beat me. Above the black sand beaches near Vík it was sometimes hard enough to stand up, and a tripod set for a long exposure was defenseless against it. I tried handheld, but most of those frames were blurry. The lesson that trip taught, after I accepted I was not going to get the photograph I had planned, was that photography often asks you to come back, sometimes several times, until the conditions come together.
The aurora taught me the same thing in a slower way. Across four trips, I have seen the lights on two nights, one per trip. The first was before I knew my camera well enough to do them justice. The second, after years of waiting for another chance, came on the last night of my most recent trip, with the wind beating the camera too hard to hold a sharp frame. Every photograph from that night is blurry.
The only honest upside to the pictures I did not get is that I have a very good reason to go back.
Going Back
A second visit changes the whole project. You stop photographing the list and start photographing the places. The locations that suited you first time become the places you return to, and the ones that did not drop off the itinerary without regret. You already know where the light comes from and when the wind will drop, which is information only a first trip earns you.
The other thing that changes is what you carry. On a first trip the bag is overfull. On a second trip it is what you actually used. What I pack for this kind of trip now is a different kit than what I took the first time, and the difference is almost entirely subtraction.
If there is a frame from the first trip you still think about, go back and shoot it again. The pair, before and after, usually says more than either one on its own. The landscape and the photographer both change between visits, and the comparison is where the picture is.
Treading Lightly
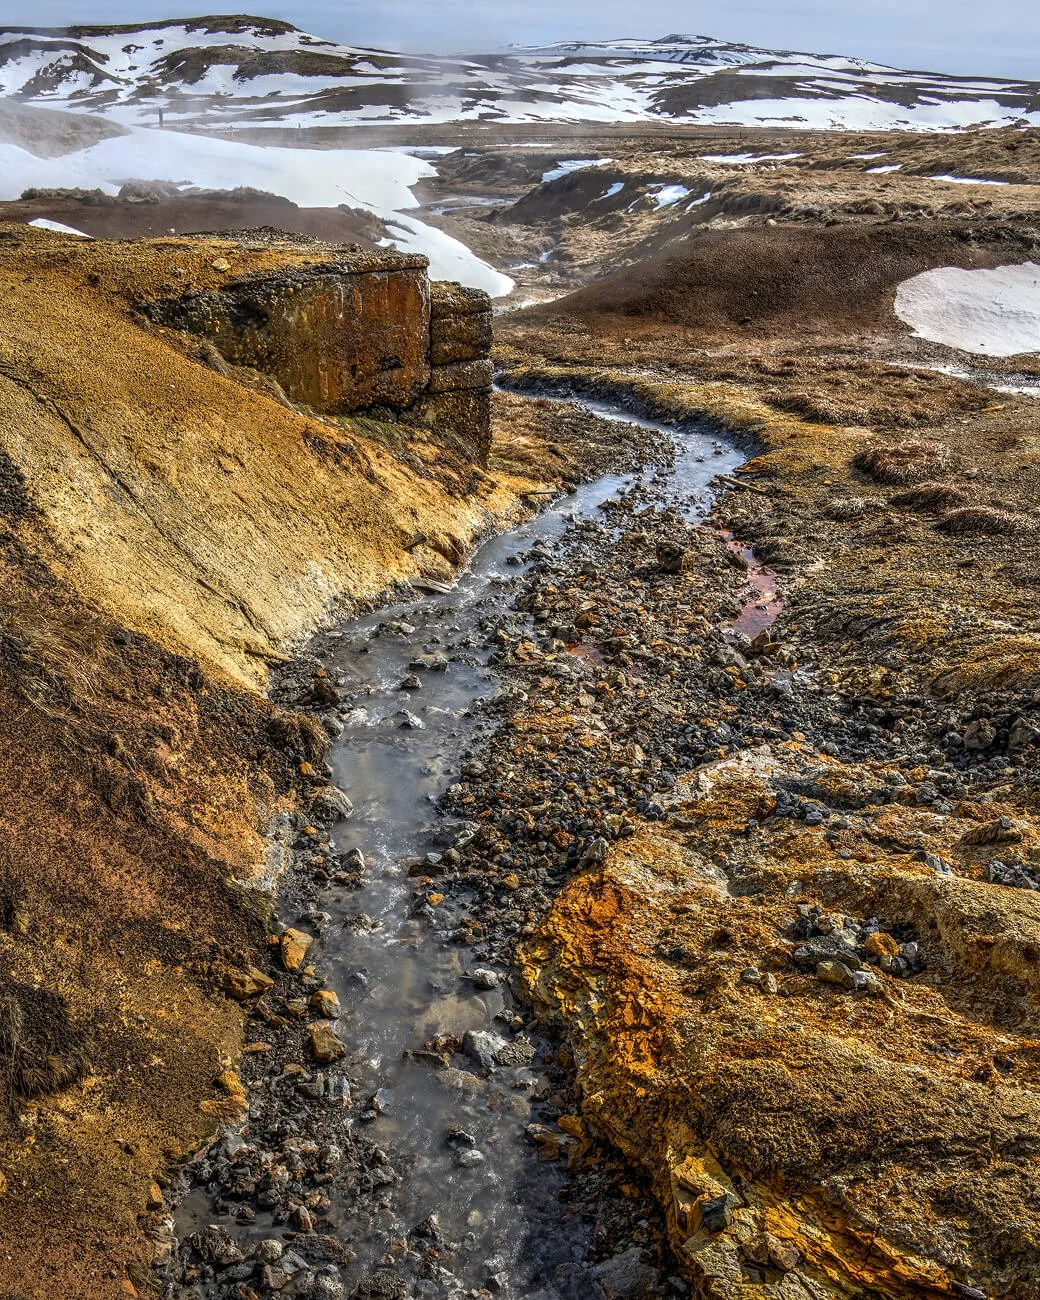
Iceland is more fragile than it looks. Moss older than most of the people photographing it takes an entire human lifetime to recover from a footprint. Off-road driving is illegal and heavily fined, and the ruts cut by one truck in summer stay visible for decades. Drone use is restricted at many well-known sites, so check the specific rules before flying. Nothing should be moved for a composition. A rock placed in the frame for a shot is one less rock for the next person, and the landscape adds up.
These rules are easy to follow once you treat them as part of the craft rather than a restriction on it.
Final Thoughts
Iceland gives you the same subjects it gives everyone else. The waterfalls are the ones in every guide. The beaches are the ones every drone operator has flown. The mountains are the ones on every postcard. The only variable you control is how long you are willing to stand there in the weather, waiting for the place to do something different. The photograph I remember best from my second trip is not of a landmark. It is a thirty-second clearing in a storm, with a single band of light across water the color of lead, that nobody else on the ridge saw happen because they were already walking back to their cars.
That is the one. The rest is lists.
Iceland Photography FAQs
-
When to visit Iceland for photography depends on what you want to shoot. September is the strongest all-round answer: aurora season has started, the days are still a full working length, and tourist numbers drop as summer ends. March is the second choice if snow matters. June gives you light around the clock but no darkness for aurora. December is the shortest working day and the hardest driving, with light that pays you back for both.
-
Ten days to two weeks is the minimum that lets weather work for you rather than against you. Fewer days plus a bad forecast can take out most of the trip. Longer lets you revisit the locations that suited you first time, which is where the strongest frames come from.
-
Yes, aurora season starts in late August and the clearest window is often September. Darkness is back, the weather tends to be more settled than later in the season, and the roads are still fully open. Clear skies and solar activity have to coincide, and the Met Office page shows both.
-
A starting point: ISO 3200, f/2.8, and a shutter around 10 to 15 seconds for a faint, slow aurora. Shorter shutters, around 2 to 5 seconds, for a bright and moving one. Manual focus set to infinity and checked on a star. Expose for the aurora, not the foreground, and bracket if the two will not hold in one frame
-
For the Ring Road and most coastal sites in summer, no. For the F-roads into the interior, yes, and a proper 4x4 rather than a soft-roader. In winter, a 4x4 is sensible almost everywhere outside Reykjavík.
-
Yes, more than any landscape destination I have been to. The first trip teaches you the country. The trips after that are when you actually photograph it. The best Iceland photography tips a return visit makes obvious: slow down, cut the itinerary in half, and come back to the places that worked.