
Waterfall Photography: How to Capture Stunning Water in Any Landscape
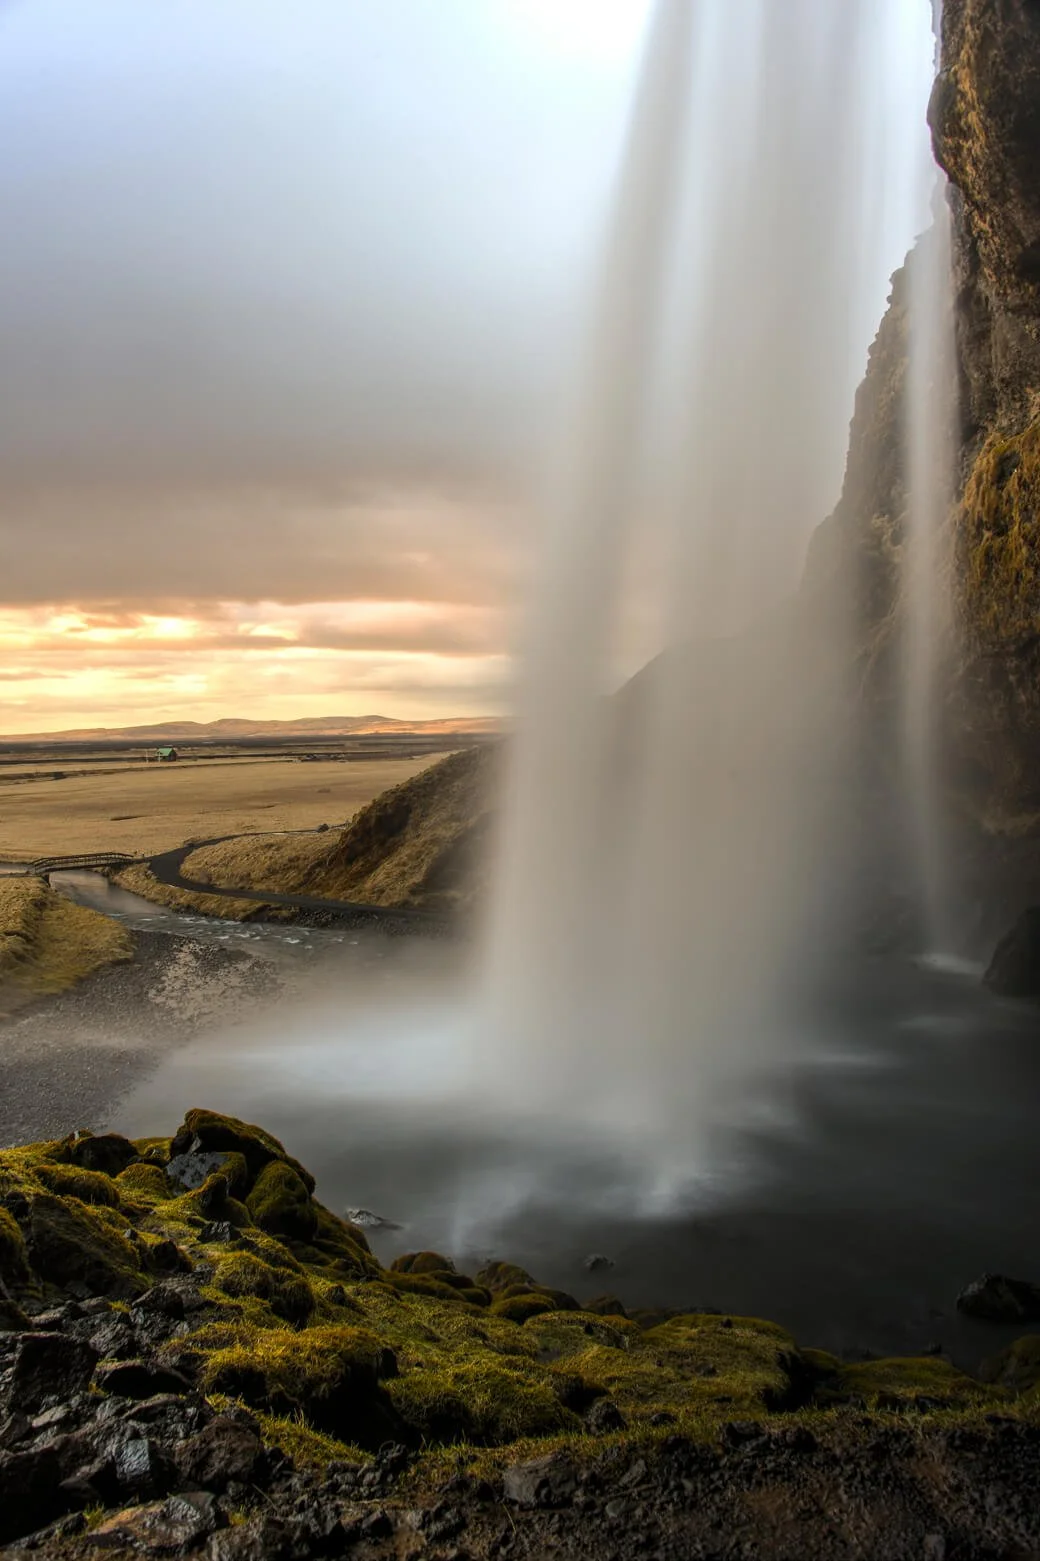
The first time I stood in front of one of Iceland's glacial waterfalls, I remember feeling completely overwhelmed. The roar drowned out every other sound. Fine spray drifted through the air and settled over everything around me. Beyond it, white water crashed over black volcanic rock that seemed almost impossibly dark against the surrounding landscape. It was one of those moments that felt much bigger than a single photograph.
That's the challenge with waterfall photography. Standing there, it feels as though the image should almost create itself. Then you get home and realize the water looks like an overexposed white blob, or you've frozen every droplet into visual chaos while the incredible landscape around it barely registers in the frame.
Over the years, I've learned that successful waterfall photographs come from understanding how moving water behaves, how light interacts with wet rock, and how the surrounding landscape gives the scene its identity. The same approach I bring to all of my landscape work applies here. Context matters just as much as the subject.
This guide comes directly from my experiences photographing Iceland's glacial waterfalls in challenging conditions. I'll walk you through the shutter speeds and filters I actually use, how I build compositions that move beyond simply centering the falls, and the practical realities of working in spray, wind, and constantly wet conditions using nothing but available light.
Understanding the Silky Water Effect
One of the questions I'm asked most often is how to achieve that smooth, flowing look that makes waterfalls feel powerful without losing their character. The answer starts with shutter speed, but the right setting always depends on the volume of water you're photographing.
It's All About Shutter Speed
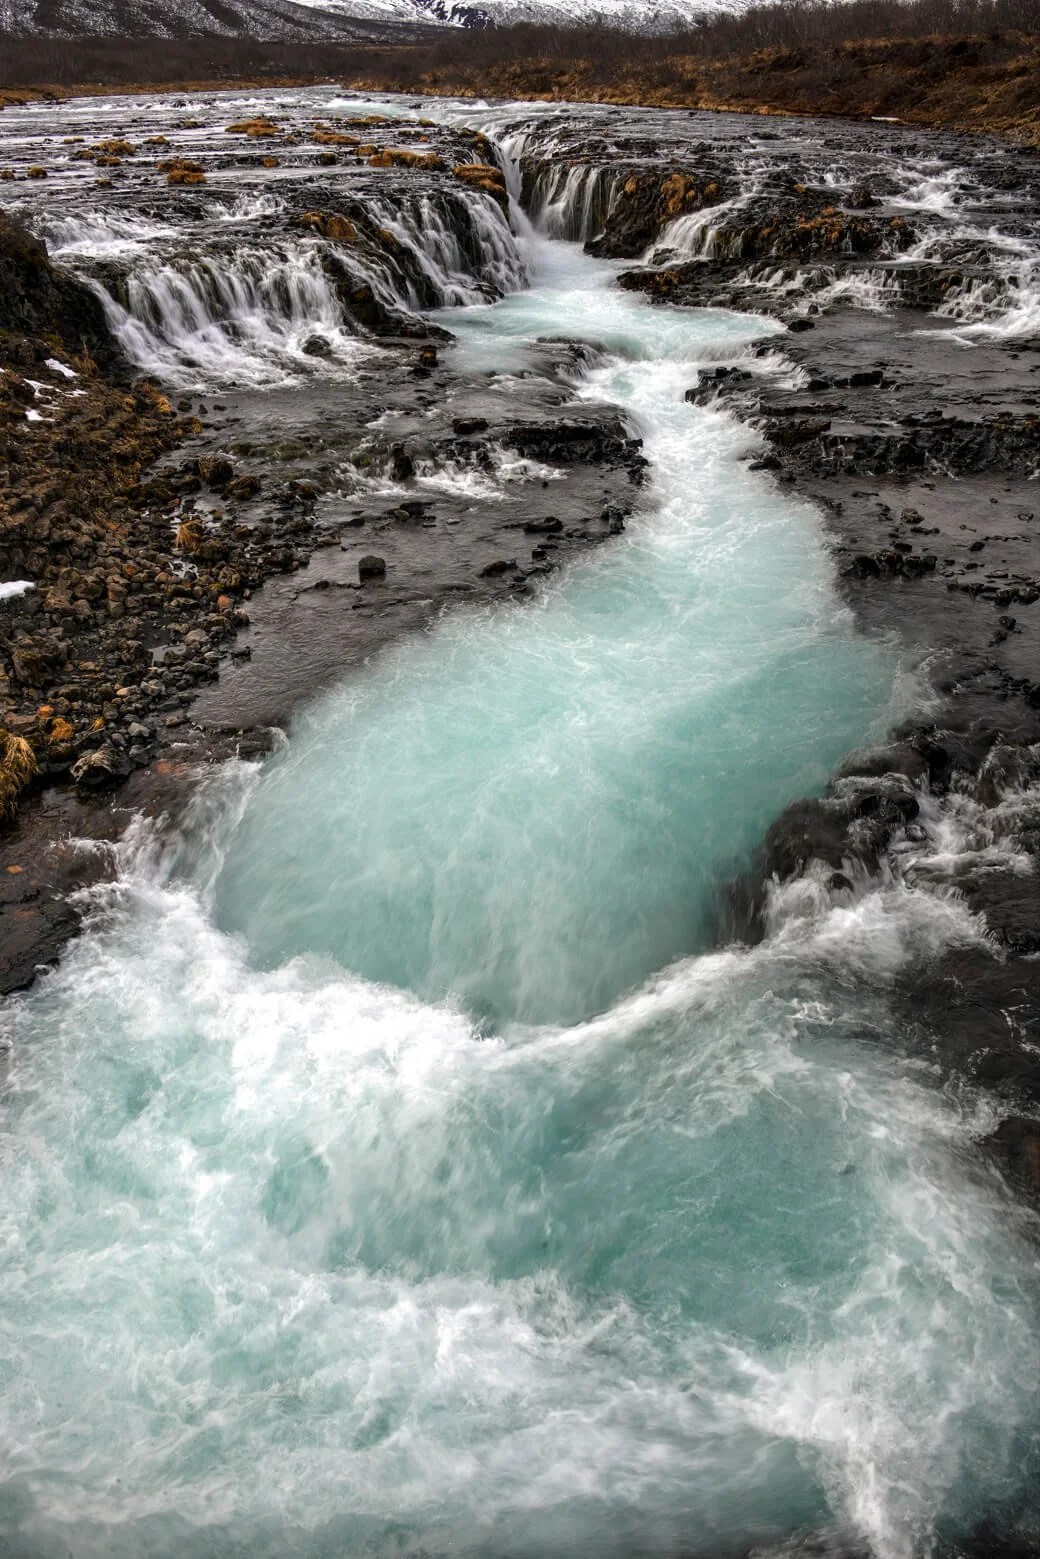
The silky effect comes from using a slower shutter speed to blur moving water while your tripod keeps the surrounding landscape sharp.
Rather than chasing one perfect setting, I work within a range. Between 1/15 and 1/4 second, the water retains texture and individual strands, making it ideal for powerful glacial waterfalls. Around 1/2 to 2 seconds creates the classic silky look, with about one second serving as my usual starting point. Exposures longer than two seconds produce a softer, more abstract effect, but if you go too far, the water can lose all detail.
One of the biggest lessons I learned in Iceland is that larger waterfalls often need faster shutter speeds than people expect. High-volume falls contain so much movement that very long exposures can turn the water into a featureless white blur. I always capture several exposures at different shutter speeds and compare them on the LCD before deciding which best suits the scene. That's one of the most valuable waterfall photography settings you can develop.
Aperture and ISO
I usually work between f/8 and f/11 to maximize sharpness while keeping both foreground and waterfall in focus. I avoid going beyond f/16 because diffraction softens the image.
For ISO, I stay at base ISO, typically ISO 100 or lower, to achieve the longest shutter speed possible while maintaining clean image quality. Whether you're learning how to photograph waterfalls or refining your technique, understanding the relationship between shutter speed, aperture and ISO is the foundation of successful silky water photography.
ND Filters: The Key to Long Exposures in Daylight
Even at base ISO and a narrow aperture, bright daylight often prevents the slow shutter speeds needed for silky water. That's when an ND filter becomes essential.
Why You Need One
A neutral density (ND) filter reduces the amount of light entering your lens, allowing you to use longer shutter speeds without overexposing the image.
For me, an ND filter waterfall setup is about controlling the exposure so I can match the shutter speed to the movement of the water.
Which ND Strength to Use
A 3-stop (ND8) filter works well in overcast conditions, woodland settings, or during early and late light.
A 6-stop (ND64) is my most-used filter because it's versatile enough for most daylight waterfall photography.
A 10-stop (ND1000) is best for bright conditions or when I want a very long, misty exposure. If you're unsure which strength to use, an ND filter exposure table is a helpful reference before heading into the field.
Polarizer: The Secret Weapon
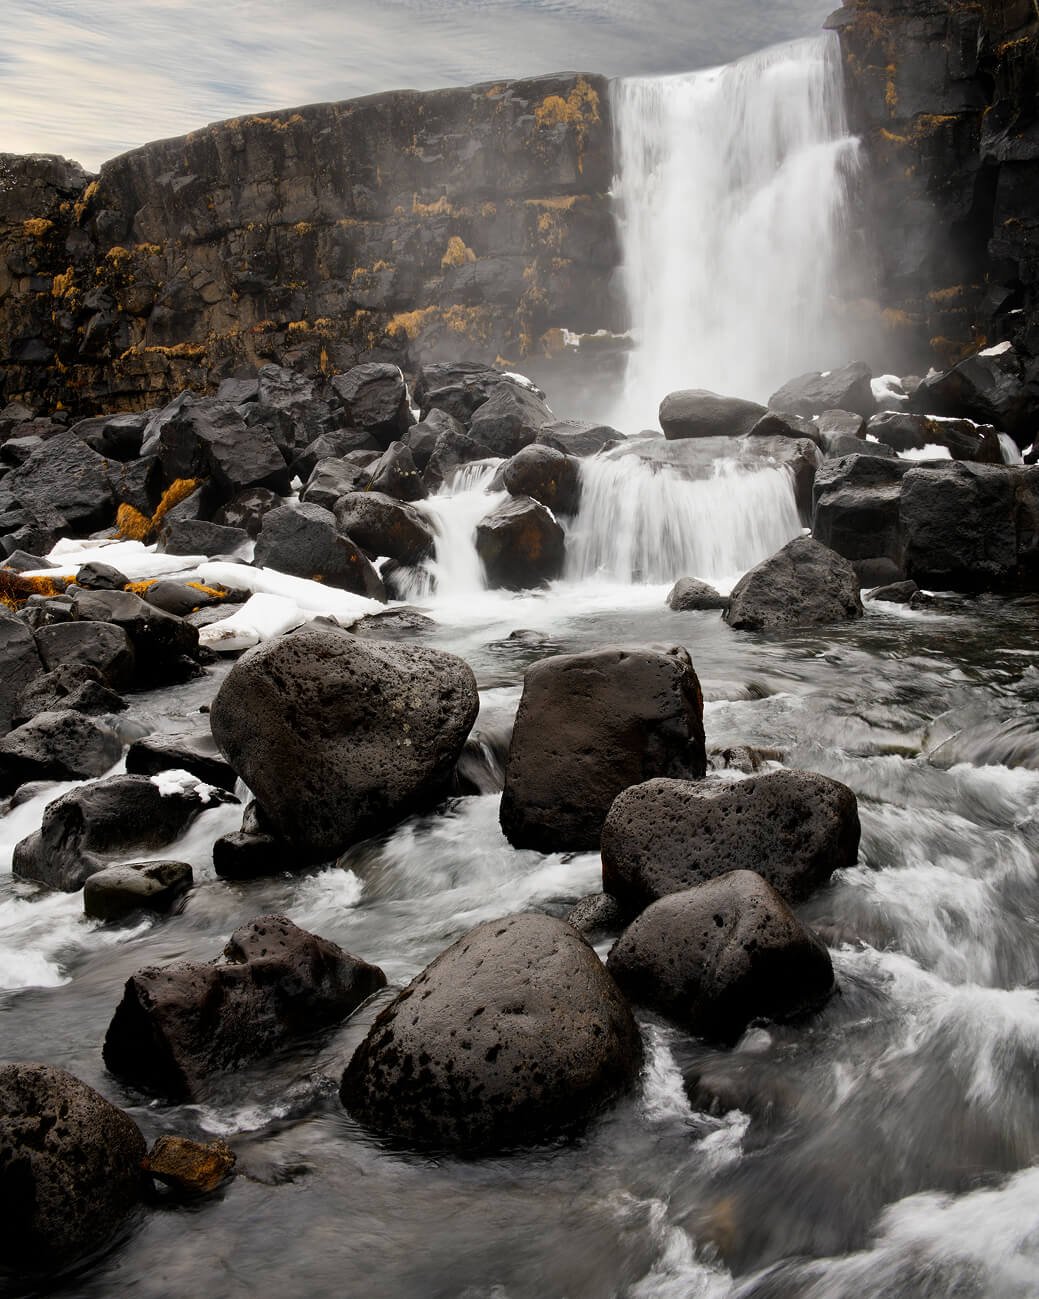
A circular polarizer (CPL) cuts reflections from wet rock and water, revealing richer colour and texture. In Iceland, it transformed flat gray basalt into deep black rock while making the moss appear far more vibrant.
It also reduces light by around 1.5 to 2 stops, giving me just enough extra exposure time to refine a long exposure waterfall without always reaching for a stronger ND filter.
Composition: Beyond the Centered Waterfall
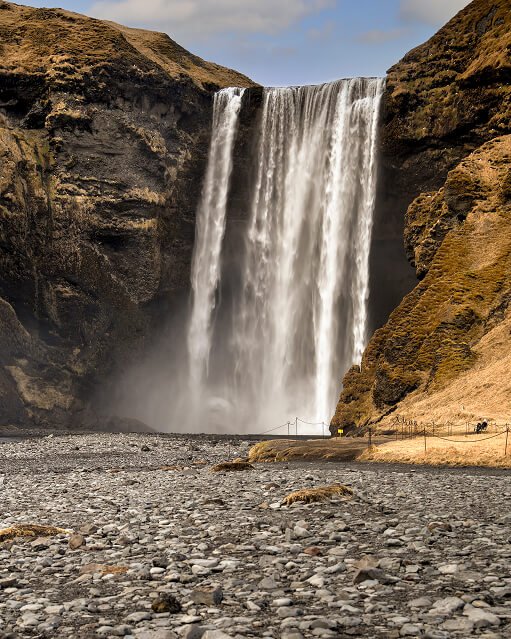
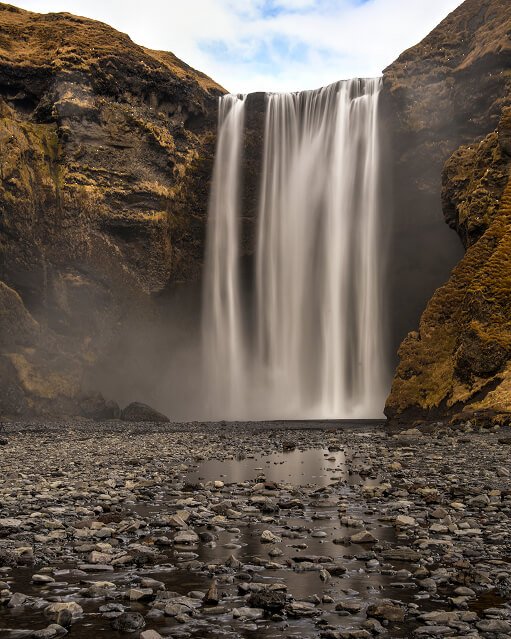
The instinct when you arrive at a waterfall is to place it in the center of the frame and start shooting. I've done it myself, but it's also the quickest way to create a generic image. For me, waterfall composition begins by asking how the waterfall fits into the landscape around it. That shift in perspective changes everything.
Use Foreground to Create Depth
Some of my strongest images begin with the foreground rather than the waterfall itself. A textured rock, reflective pool, winding stream, or moss-covered stones naturally lead the eye through the frame and create depth.
Iceland's black volcanic rock became one of my favorite compositional tools. Against bright white water, it creates striking contrast and an immediate sense of place. I often place a distinctive boulder or basalt formation in the lower third, then get low to exaggerate its scale. Giving the foreground as much attention as the waterfall creates a more immersive photograph.
Wide vs. Tight: Two Different Stories
I never leave a waterfall with just one composition. A wide-angle lens (14-24mm) places the waterfall within its landscape, capturing volcanic valleys, glacial rivers, moss-covered cliffs, and dramatic skies. Then I switch to a telephoto lens (70-200mm) to isolate a single cascade or abstract patterns in the water. Together, the two perspectives tell a richer story.
Landscape Context Is Everything
Iceland taught me that the landscape surrounding a waterfall is what makes the image memorable. Black basalt, green moss, glacial ice, and changing weather give a photograph its sense of place and make glacial waterfall photography so distinctive. The same principles of balance and visual flow guide all of my landscape work. A still pool below a fall is one of the strongest places to apply reflection symmetry.
Find the Unusual Angle
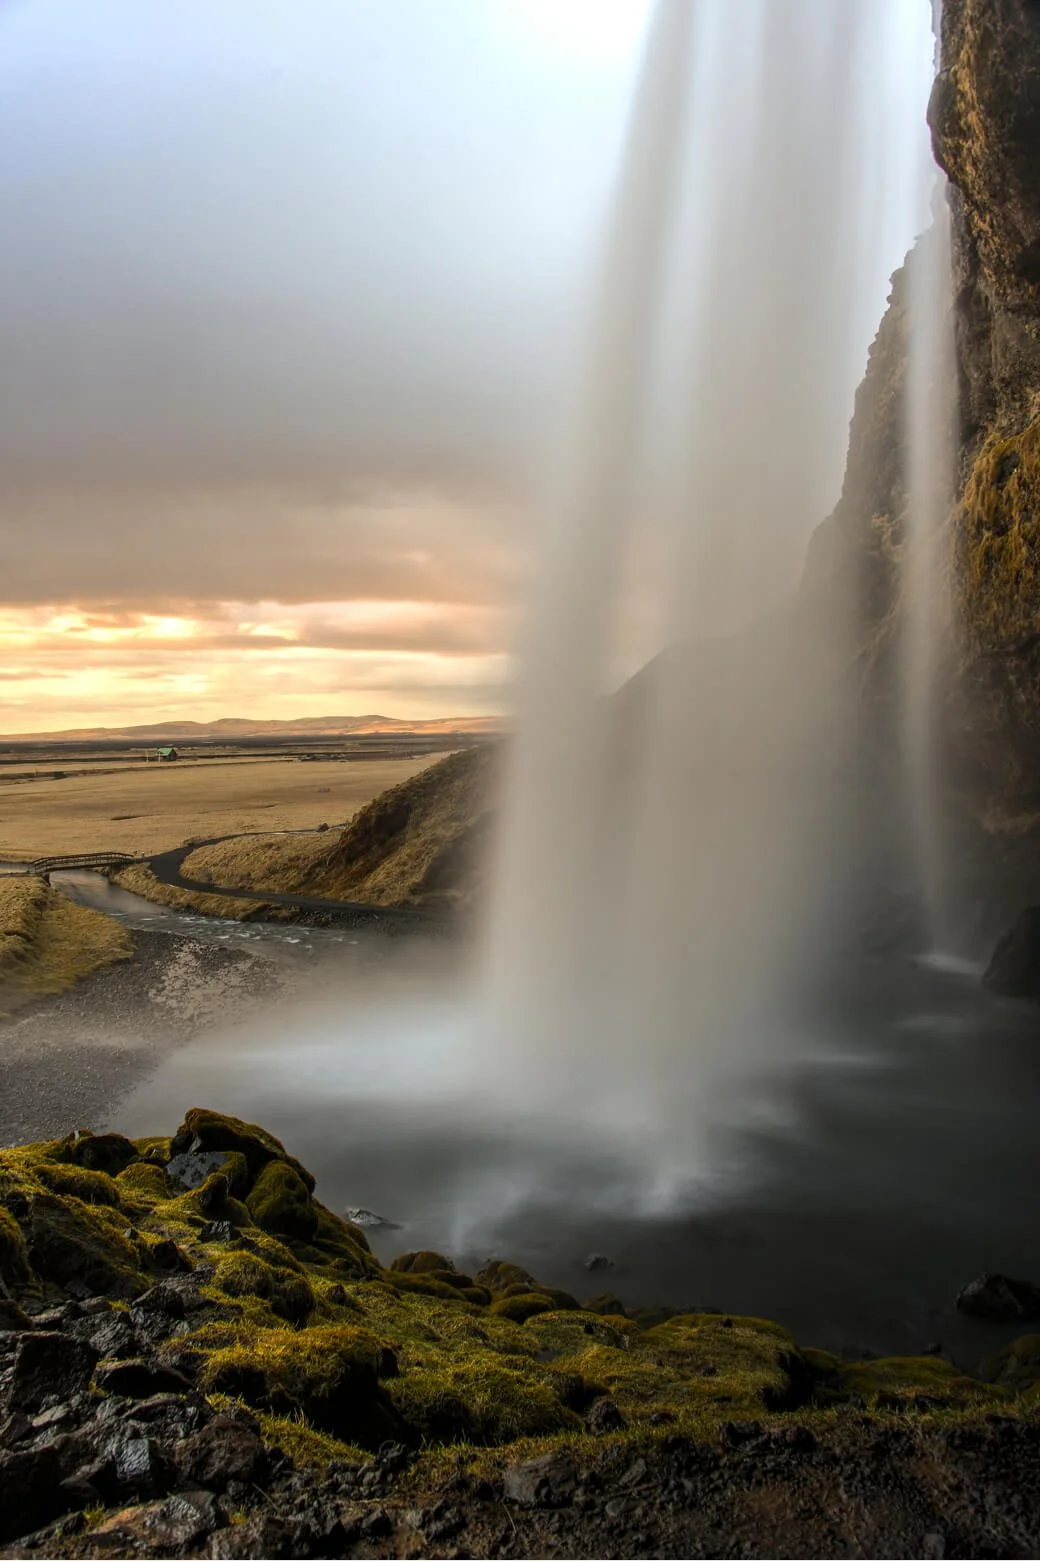
Before my tripod comes out, I walk the location with my camera in hand, exploring viewpoints from the side, above, below, or even behind the waterfall. I don't put the camera on the tripod until I've found the composition handheld first. Setting up too early can lock you into one viewpoint, while exploring first almost always leads to a stronger composition.
Gear for Waterfall Photography
You don't need a huge amount of gear for waterfall photography, but every item should help you work efficiently in challenging conditions.
The Essentials
A sturdy tripod is non-negotiable for exposures slower than about 1/60 second, especially on uneven, wet ground. I prioritize stability over saving weight, particularly in windy conditions.
I also use a remote shutter release or my camera's two-second self-timer to eliminate vibration during long exposures.
My filter kit includes neutral density filters and a circular polarizer, giving me control over shutter speed while reducing reflections and enhancing colour.
Lens choice depends on the story I want to tell. A wide-angle lens captures the surrounding landscape, while a telephoto isolates details. Whenever possible, I use weather-sealed equipment because spray is unavoidable.
The Stuff Nobody Mentions
More often than not, I reach for a microfiber cloth before I reach for my camera. High-volume waterfalls coat your front element in seconds, so I always carry several clean, dry cloths. I also protect both myself and my camera with waterproof clothing and a rain cover, although a simple plastic bag works well in a pinch.
Don't underestimate your footwear either. Many of the best viewpoints require crossing streams or standing on slick volcanic rock, so waterproof boots with reliable grip are essential.
I keep my kit deliberately streamlined, the same philosophy I bring to photographing abandoned buildings. Carrying only what I need lets me move comfortably through the landscape and adapt quickly as conditions change. You'll see that approach reflected across both my landscape and urbex portfolio.
Managing Spray, Wind, and Wet Conditions
Technical settings are only part of successful waterfall photography. Some of the biggest challenges come from the environment itself, especially around powerful glacial waterfalls.
Spray
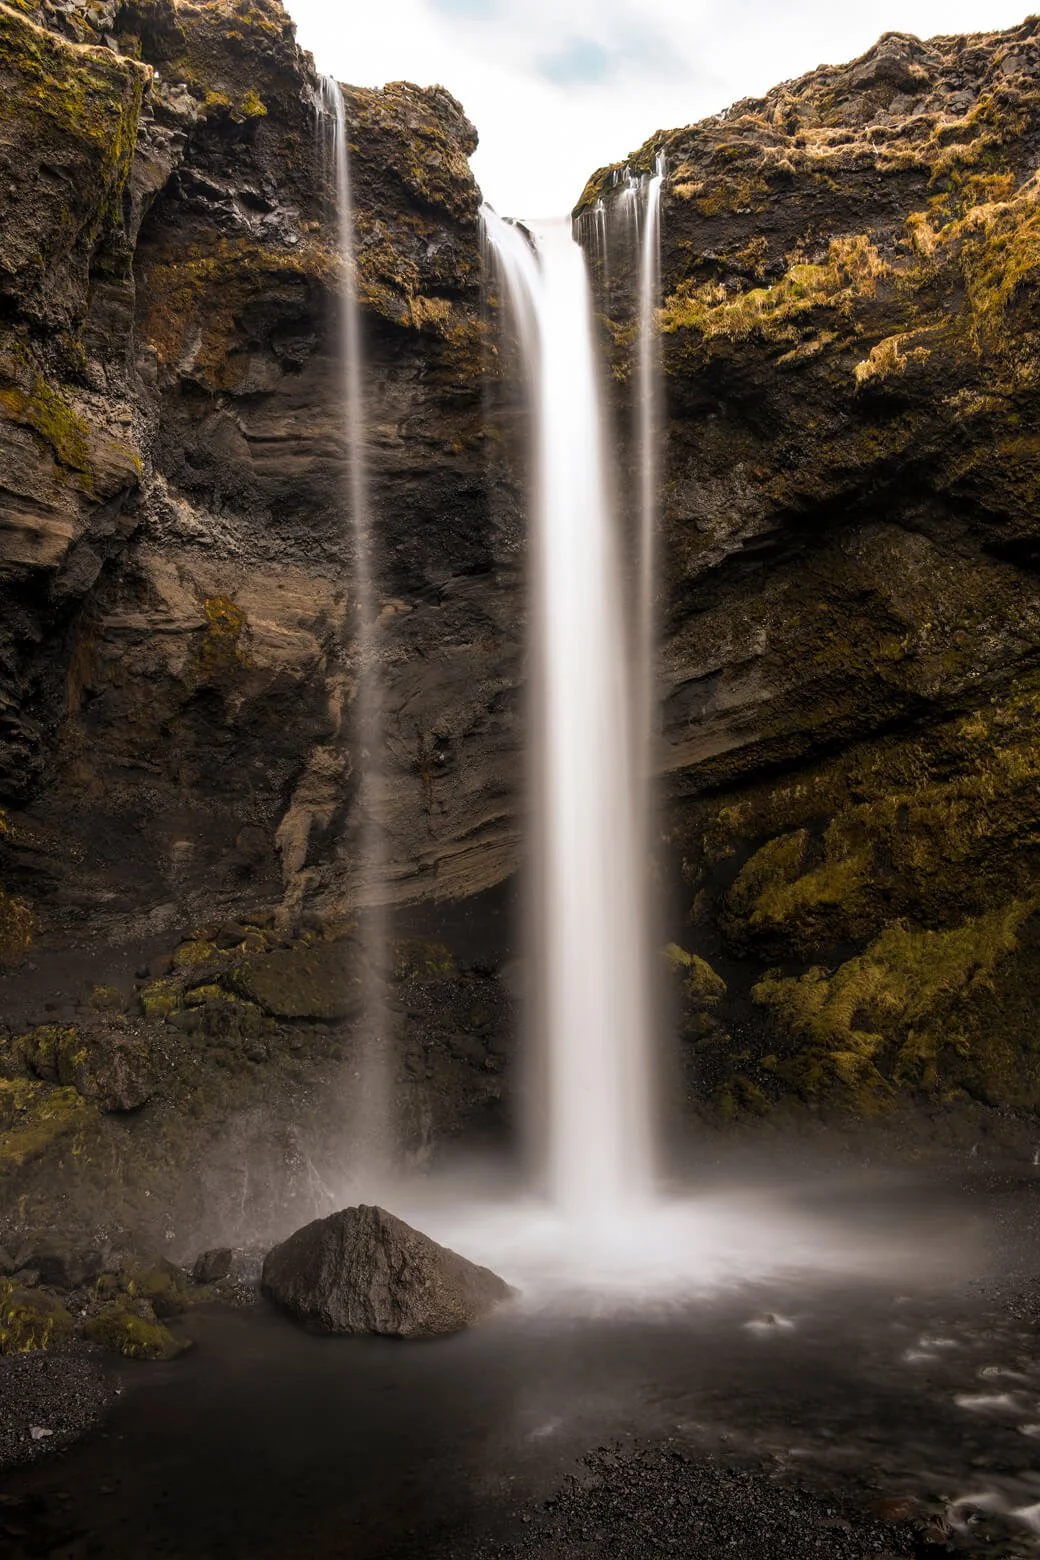
High-volume glacial waterfalls throw spray much farther than most people expect. Even when you think you're at a safe distance, your front element can be covered very quickly.
My routine is simple: compose and focus first, keep the lens covered until I'm ready, then uncover it, wipe the front element, and make the exposure. In heavy spray, I'll fire a short burst after each wipe before the lens gets wet again, then repeat until I have a clean image. I've also found that shooting slightly upwind or from a higher angle helps keep the lens drier. Sometimes a composition you can actually keep dry is stronger than the perfect viewpoint you can't.
Wind
Wind shakes your tripod and blurs moving vegetation. I lower my tripod, widen the leg stance, and often hang my camera bag from the center column for extra stability. If foliage won't settle, I'll either wait for a lull or use a slightly faster shutter speed to preserve detail.
Cold and Glacial Conditions
Iceland taught me how quickly cold weather affects both photographers and equipment. Batteries drain faster in low temperatures, so I keep spares warm in an inner pocket. To avoid condensation, I seal my camera in a bag before moving it from the cold into a warm vehicle.
One final note that's central to my approach: I never use flash. Available light preserves the atmosphere, subtle reflections, and the natural contrast between volcanic rock and moving water far better than artificial light ever could.
A Note on Post-Processing
A good edit should support the photograph, not rescue it. My goal is always to get as much right as possible in the field, then use post-processing to refine what I captured rather than reinvent it.
I always shoot in RAW because waterfall scenes often contain an enormous dynamic range. Bright white water sits beside deep shadows in dark volcanic rock, and a RAW file gives me the flexibility to recover detail in both. My first adjustment is usually to reduce the highlights until texture returns to the brightest parts of the water. From there, I carefully set the white and black points so the basalt stays rich and dark without losing detail.
If the contrast between the sky and the landscape is simply too great for a single exposure, I'll bracket several frames and blend them later. It's a technique I also use in my urban exploration work, and it translates naturally to landscapes with challenging light.
The one thing I avoid is over-saturating the colours. The drama in these scenes comes from the relationship between black rock, white water, and natural light. Let those elements speak for themselves.
Conclusion: Water Is Only Half the Shot
The longer I spend practicing waterfall photography, the more convinced I become that the water is only half the story. Match your shutter speed to the volume of water, use an ND filter and circular polarizer to control light and reflections, and build your composition around foreground and a genuine sense of place. Looking back on Iceland, it wasn't the biggest waterfalls that stayed with me, but the moments when rock, ice, light, and water came together. That's what I'm always chasing in my landscape and travel photography.